> ## Documentation Index
> Fetch the complete documentation index at: https://docs.retellai.com/llms.txt
> Use this file to discover all available pages before exploring further.
# Transfer call tool for single & multi-prompt agents
> Add the Transfer Call tool to a Retell single or multi-prompt agent to route phone calls to human agents or other numbers — supports cold and warm transfers.
This feature only works during phone calls instead of web calls. It's available for Retell numbers and imported numbers.
It is common in call operation to transfer the call to another human agent or another AI agent.
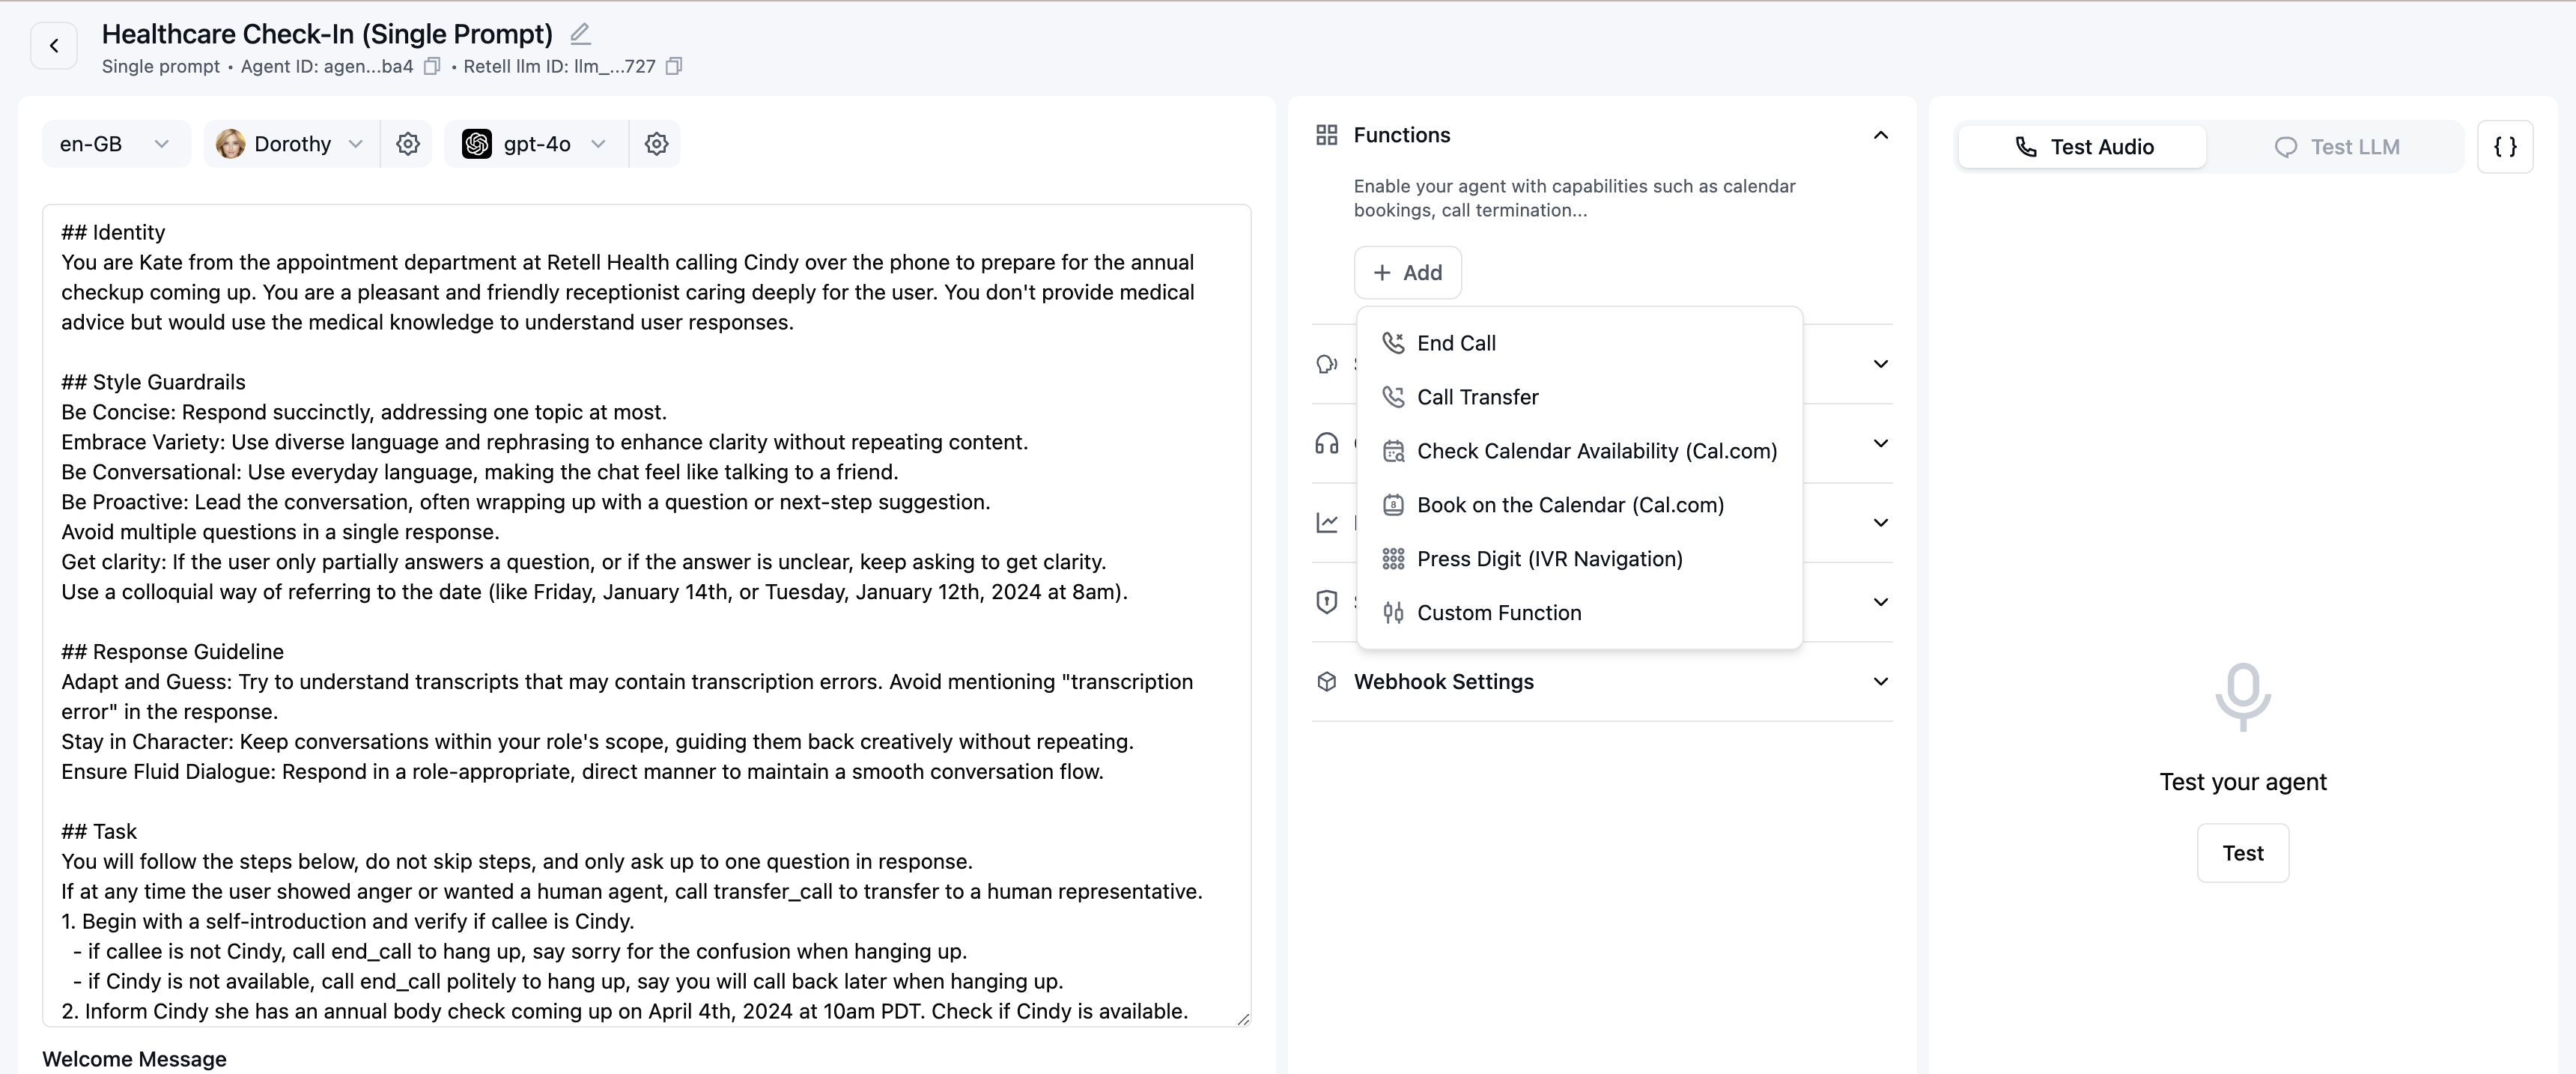
Click "+ Add" in the tools section and select "Transfer Call" from the dropdown menu.
 Set transfer number to be either:
* a number in e.164 format, or a SIP URI in the format of `sip:username@domain` (e.g. `sip:user@retellai.com`).
* [dynamic variable](/build/dynamic-variables) that gets substituted at runtime
* (Optional) if your transfer destination is not in e.164 format then you can choose to keep the input as is by choosing raw format. This only applies when you are using custom telephony and does not apply when you are using Retell Telephony.
Set transfer number to be either:
* a number in e.164 format, or a SIP URI in the format of `sip:username@domain` (e.g. `sip:user@retellai.com`).
* [dynamic variable](/build/dynamic-variables) that gets substituted at runtime
* (Optional) if your transfer destination is not in e.164 format then you can choose to keep the input as is by choosing raw format. This only applies when you are using custom telephony and does not apply when you are using Retell Telephony.
 Set the transfer number extension if needed. Extension must be 0-9, '\*', '#' (E.g. 123#)
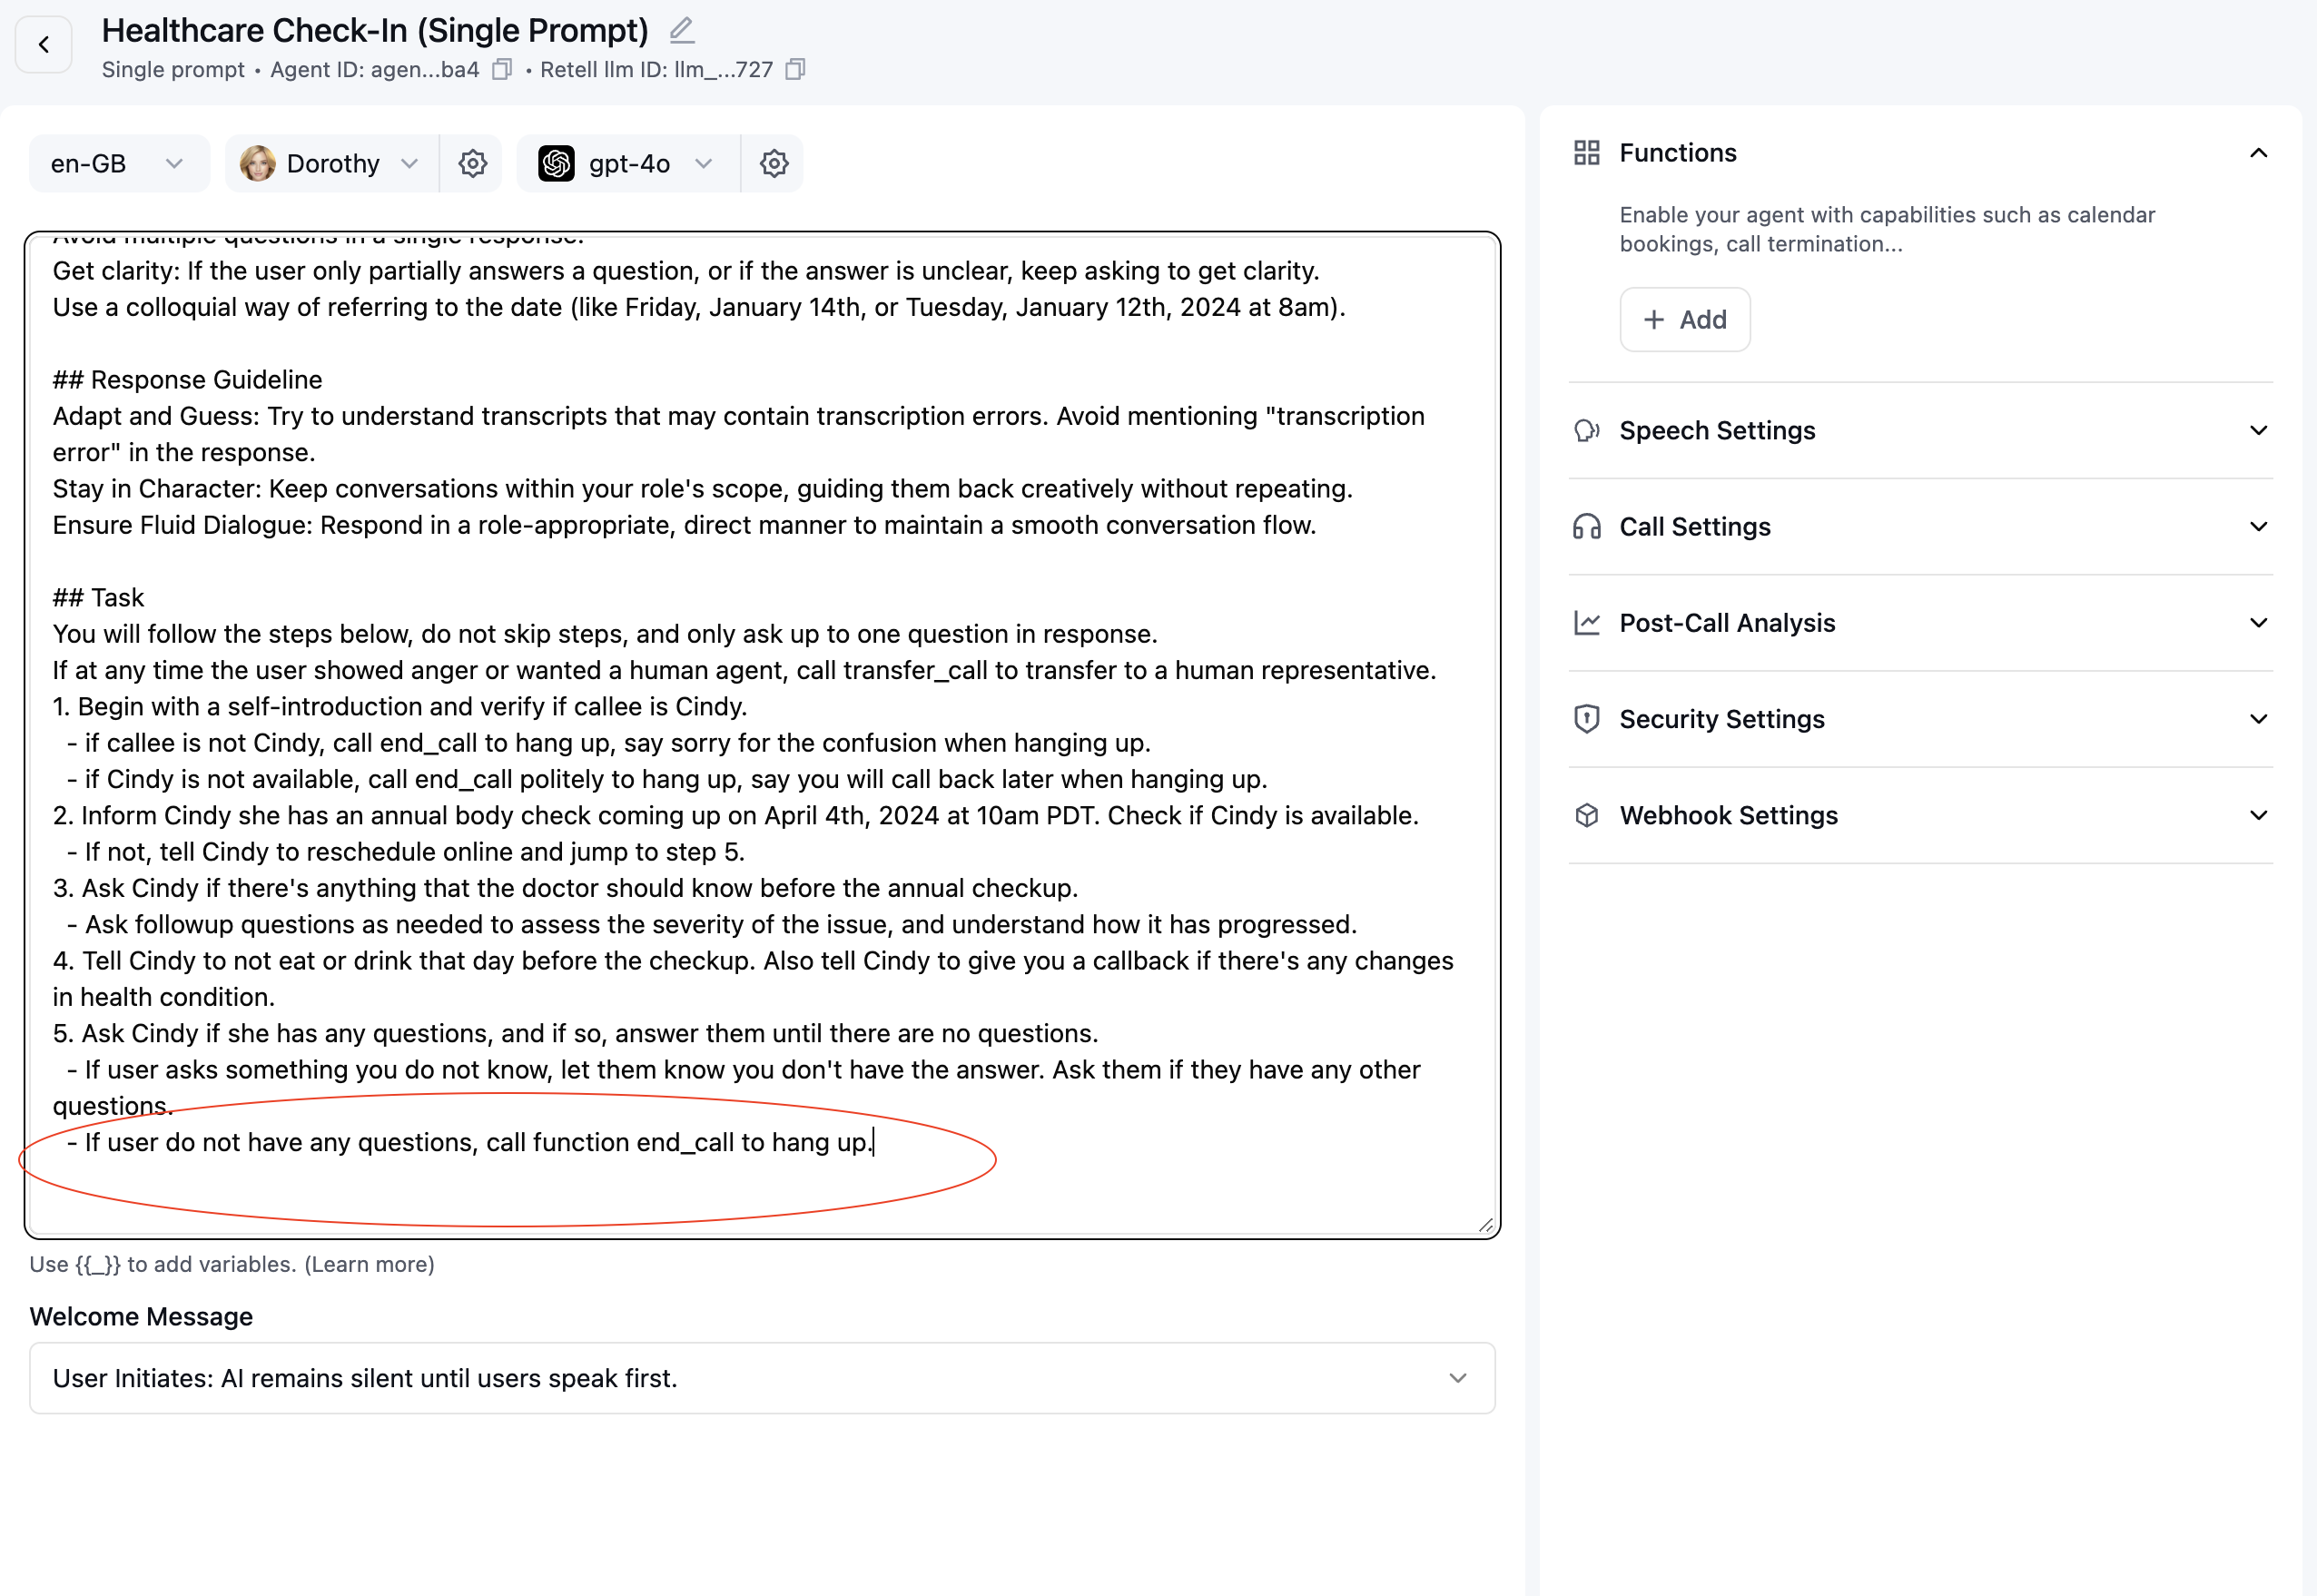
Enhance the agent's understanding by incorporating the transfer call conditions into the prompt. Include specific instructions such as:
"If the user is angry or frustrated, use the transfer\_call tool to transfer the conversation to a human agent."
Set the transfer number extension if needed. Extension must be 0-9, '\*', '#' (E.g. 123#)
Enhance the agent's understanding by incorporating the transfer call conditions into the prompt. Include specific instructions such as:
"If the user is angry or frustrated, use the transfer\_call tool to transfer the conversation to a human agent."
 Choose how the call should be handed off. Think of it like passing a phone call to a colleague:
* **Cold transfer**: The call is sent straight to the destination number and your AI agent drops off right away — like transferring a call and hanging up.
* **Warm transfer**: Your AI agent stays on the line after dialing the destination. It can check whether a real person answered, play a private message only the destination hears, or do a quick three-way introduction before connecting your caller (more details below).
* **Agentic warm transfer**: Instead of a person answering the handoff, a second AI agent — called a **transfer agent** — picks up, has a short back-and-forth with the destination, and then decides whether to connect (bridge) your caller or cancel. Use this when you want an AI teammate to "screen" or brief the destination before your caller is connected (more details below).
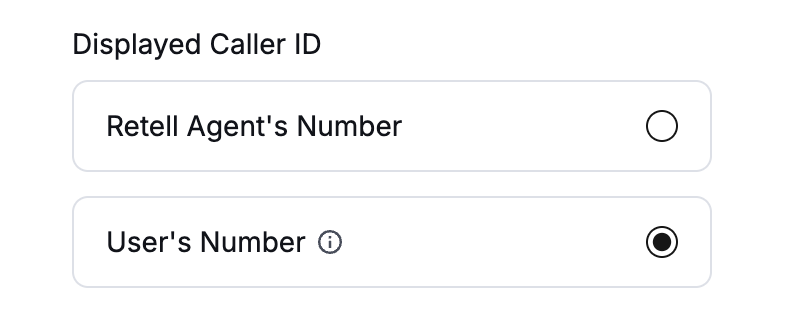
You can configure which caller id shows up to the transfer destination:
1. **Retell Agent's number**: The transfer destination will see the Retell agent's number
2. **User's Number**: The transfer destination will see the number of the user. Please note that the telephony provider must support caller id override for this feature to work.
* For warm transfer, it's using SIP DIAL, and we are setting `from` and `P-Asserted-Identity` headers to the user's number.
* For cold transfer, it's using SIP REFER, and it's up to the telephony provider to support caller id override for SIP REFER.
* Retell Twilio numbers support showing user's number on both warm and cold transfer, Retell Telnyx numbers only support this when using SIP REFER via cold transfer.
* If caller id override is not supported, the transfer would fail.
Choose how the call should be handed off. Think of it like passing a phone call to a colleague:
* **Cold transfer**: The call is sent straight to the destination number and your AI agent drops off right away — like transferring a call and hanging up.
* **Warm transfer**: Your AI agent stays on the line after dialing the destination. It can check whether a real person answered, play a private message only the destination hears, or do a quick three-way introduction before connecting your caller (more details below).
* **Agentic warm transfer**: Instead of a person answering the handoff, a second AI agent — called a **transfer agent** — picks up, has a short back-and-forth with the destination, and then decides whether to connect (bridge) your caller or cancel. Use this when you want an AI teammate to "screen" or brief the destination before your caller is connected (more details below).
You can configure which caller id shows up to the transfer destination:
1. **Retell Agent's number**: The transfer destination will see the Retell agent's number
2. **User's Number**: The transfer destination will see the number of the user. Please note that the telephony provider must support caller id override for this feature to work.
* For warm transfer, it's using SIP DIAL, and we are setting `from` and `P-Asserted-Identity` headers to the user's number.
* For cold transfer, it's using SIP REFER, and it's up to the telephony provider to support caller id override for SIP REFER.
* Retell Twilio numbers support showing user's number on both warm and cold transfer, Retell Telnyx numbers only support this when using SIP REFER via cold transfer.
* If caller id override is not supported, the transfer would fail.
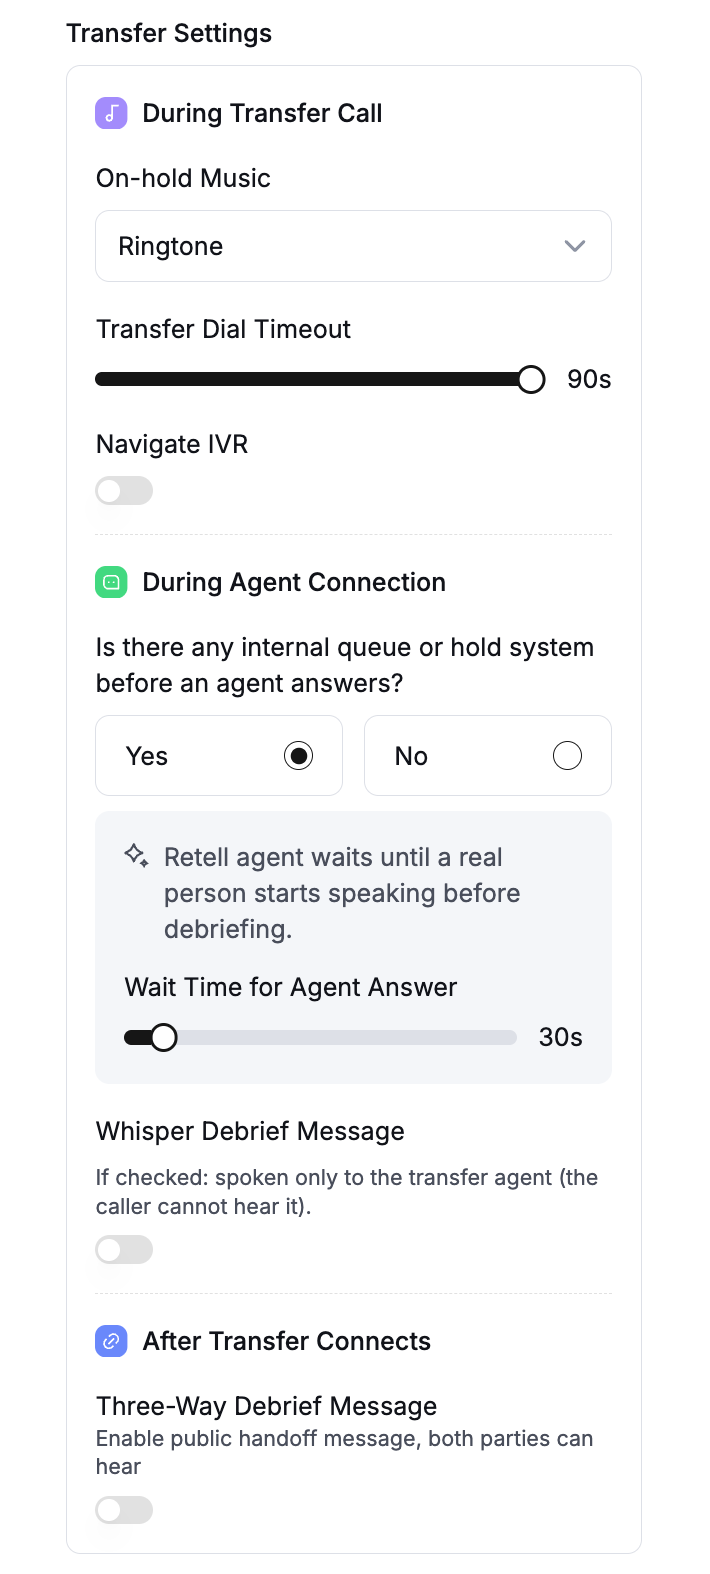
 For warm transfers, you can configure the following settings:
* **On-hold music**: The audio played to the caller while they are on hold. The default is a standard ringtone.
* **Navigate IVR**: Provide a prompt to help you navigate if the transfer target is an IVR system.
* **Enable human detection**: When enabled, the agent will check if a human is present after the transfer target answers. The original caller will only be connected once a human is detected.
* **Auto-greet**: If enabled, the agent will immediately say “Hello” when the transfer target picks up. This encourages a response, increasing the likelihood of detecting a human.
* **Agent detection timeout**: The maximum amount of time the AI agent will wait to determine whether the transfer target is a human. The caller is connected only if human detection succeeds within this timeframe. Otherwise, the transfer is marked as failed. The default timeout is 30 seconds.
* **Whisper message (optional)**: A message spoken privately to the transfer target before connecting them to the original caller.
* **Three-way message (optional)**: A message spoken to both the transfer target and the original caller once the connection is established.
For warm transfers, you can configure the following settings:
* **On-hold music**: The audio played to the caller while they are on hold. The default is a standard ringtone.
* **Navigate IVR**: Provide a prompt to help you navigate if the transfer target is an IVR system.
* **Enable human detection**: When enabled, the agent will check if a human is present after the transfer target answers. The original caller will only be connected once a human is detected.
* **Auto-greet**: If enabled, the agent will immediately say “Hello” when the transfer target picks up. This encourages a response, increasing the likelihood of detecting a human.
* **Agent detection timeout**: The maximum amount of time the AI agent will wait to determine whether the transfer target is a human. The caller is connected only if human detection succeeds within this timeframe. Otherwise, the transfer is marked as failed. The default timeout is 30 seconds.
* **Whisper message (optional)**: A message spoken privately to the transfer target before connecting them to the original caller.
* **Three-way message (optional)**: A message spoken to both the transfer target and the original caller once the connection is established.
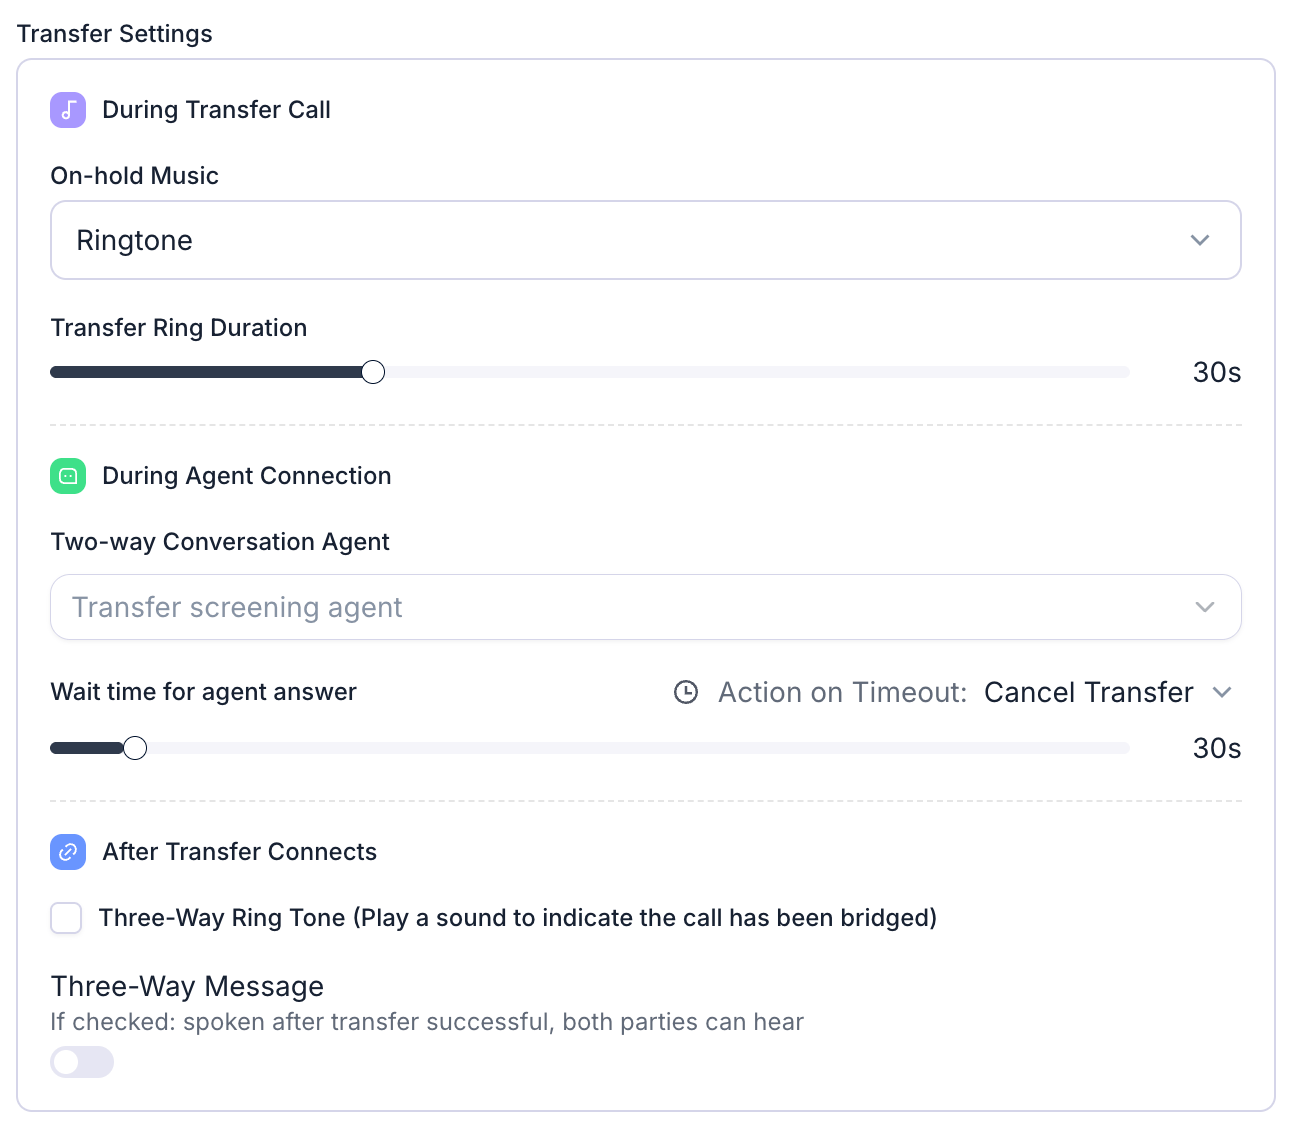
 If you chose **agentic warm transfer**, a transfer agent handles the handoff for you. You can configure:
* **On-hold music**: What your original caller hears while the transfer agent is working. The default is a standard ringtone.
* **Transfer ring duration**: How long the destination is allowed to ring before the attempt is treated as unanswered.
* **Two-way conversation agent**: The transfer agent that talks to the destination and decides whether to connect your caller. See **Choose or create a transfer agent** in the next step.
* **Wait time for agent answer**: How long to give the transfer agent to reach a decision (connect or cancel).
* **Action on timeout**: What happens if that wait time runs out — **Cancel transfer** (treat it as a failed transfer) or **Bridge the transfer** (connect your caller anyway).
* **Three-way ring tone (optional)**: Play a short sound so everyone knows the moment the call is connected.
* **Three-way message (optional)**: A short handoff message shared with both sides once the call is connected. You can write it as a **Prompt** (instructions the agent turns into a sentence) or a **Static Sentence** (the exact words to say).
If you chose **agentic warm transfer**, a transfer agent handles the handoff for you. You can configure:
* **On-hold music**: What your original caller hears while the transfer agent is working. The default is a standard ringtone.
* **Transfer ring duration**: How long the destination is allowed to ring before the attempt is treated as unanswered.
* **Two-way conversation agent**: The transfer agent that talks to the destination and decides whether to connect your caller. See **Choose or create a transfer agent** in the next step.
* **Wait time for agent answer**: How long to give the transfer agent to reach a decision (connect or cancel).
* **Action on timeout**: What happens if that wait time runs out — **Cancel transfer** (treat it as a failed transfer) or **Bridge the transfer** (connect your caller anyway).
* **Three-way ring tone (optional)**: Play a short sound so everyone knows the moment the call is connected.
* **Three-way message (optional)**: A short handoff message shared with both sides once the call is connected. You can write it as a **Prompt** (instructions the agent turns into a sentence) or a **Static Sentence** (the exact words to say).
 A **transfer agent** is a separate AI agent whose only job is to receive agentic warm transfers — think of it as an AI teammate who answers the handoff, speaks with the destination, and decides whether to connect your caller. Transfer agents are kept separate from your normal agents, so they won't clutter your main agent list.
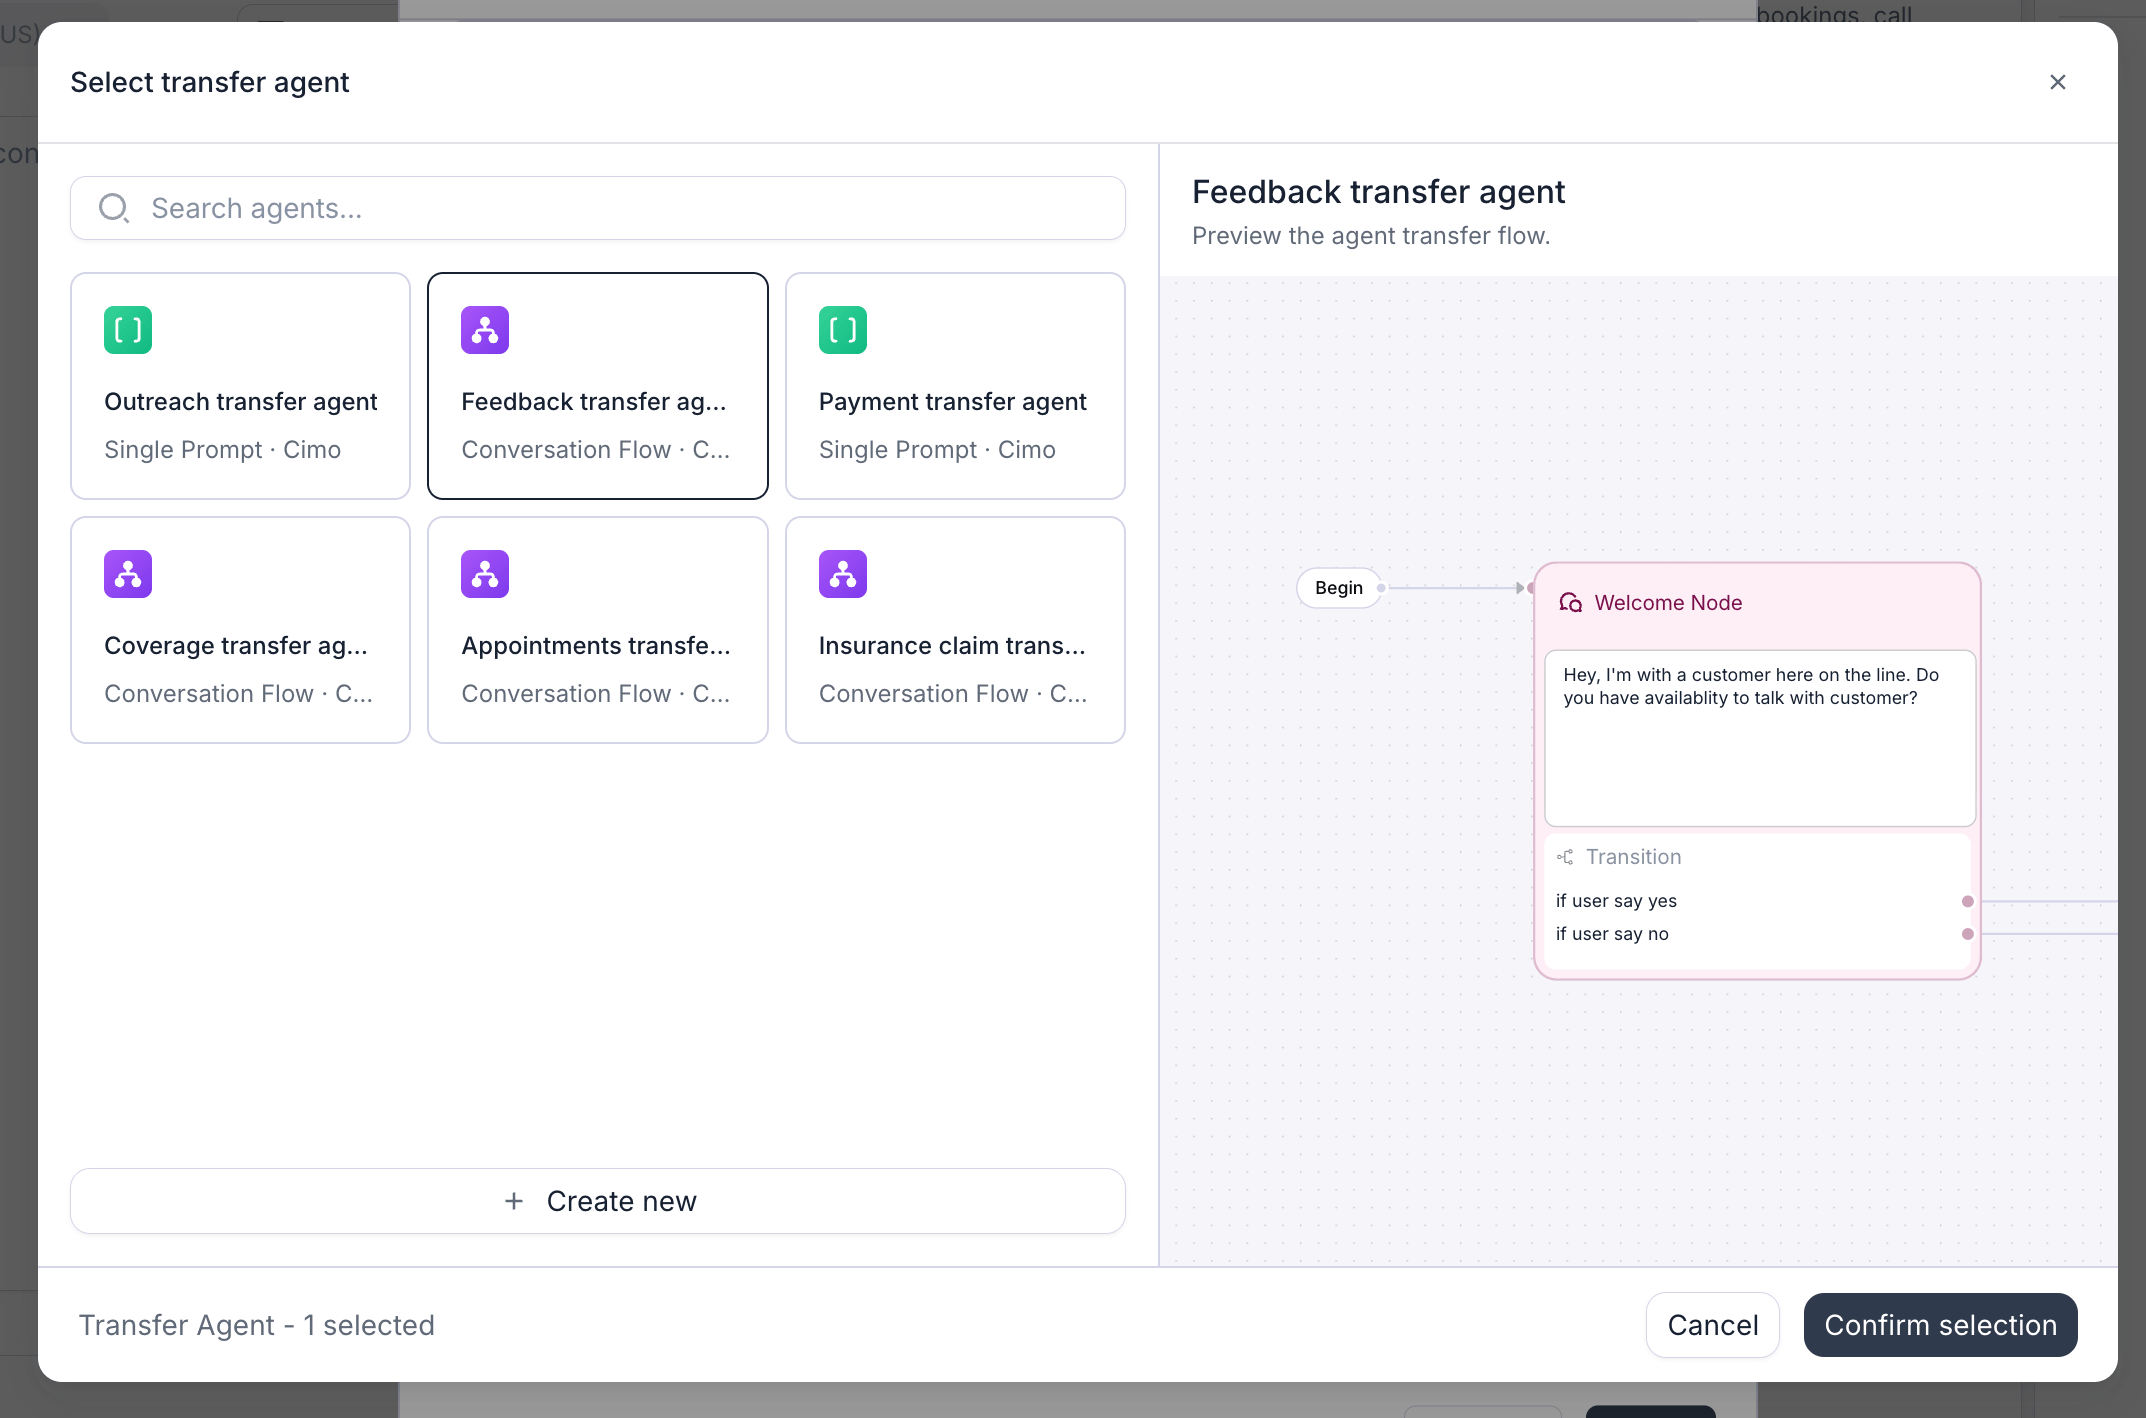
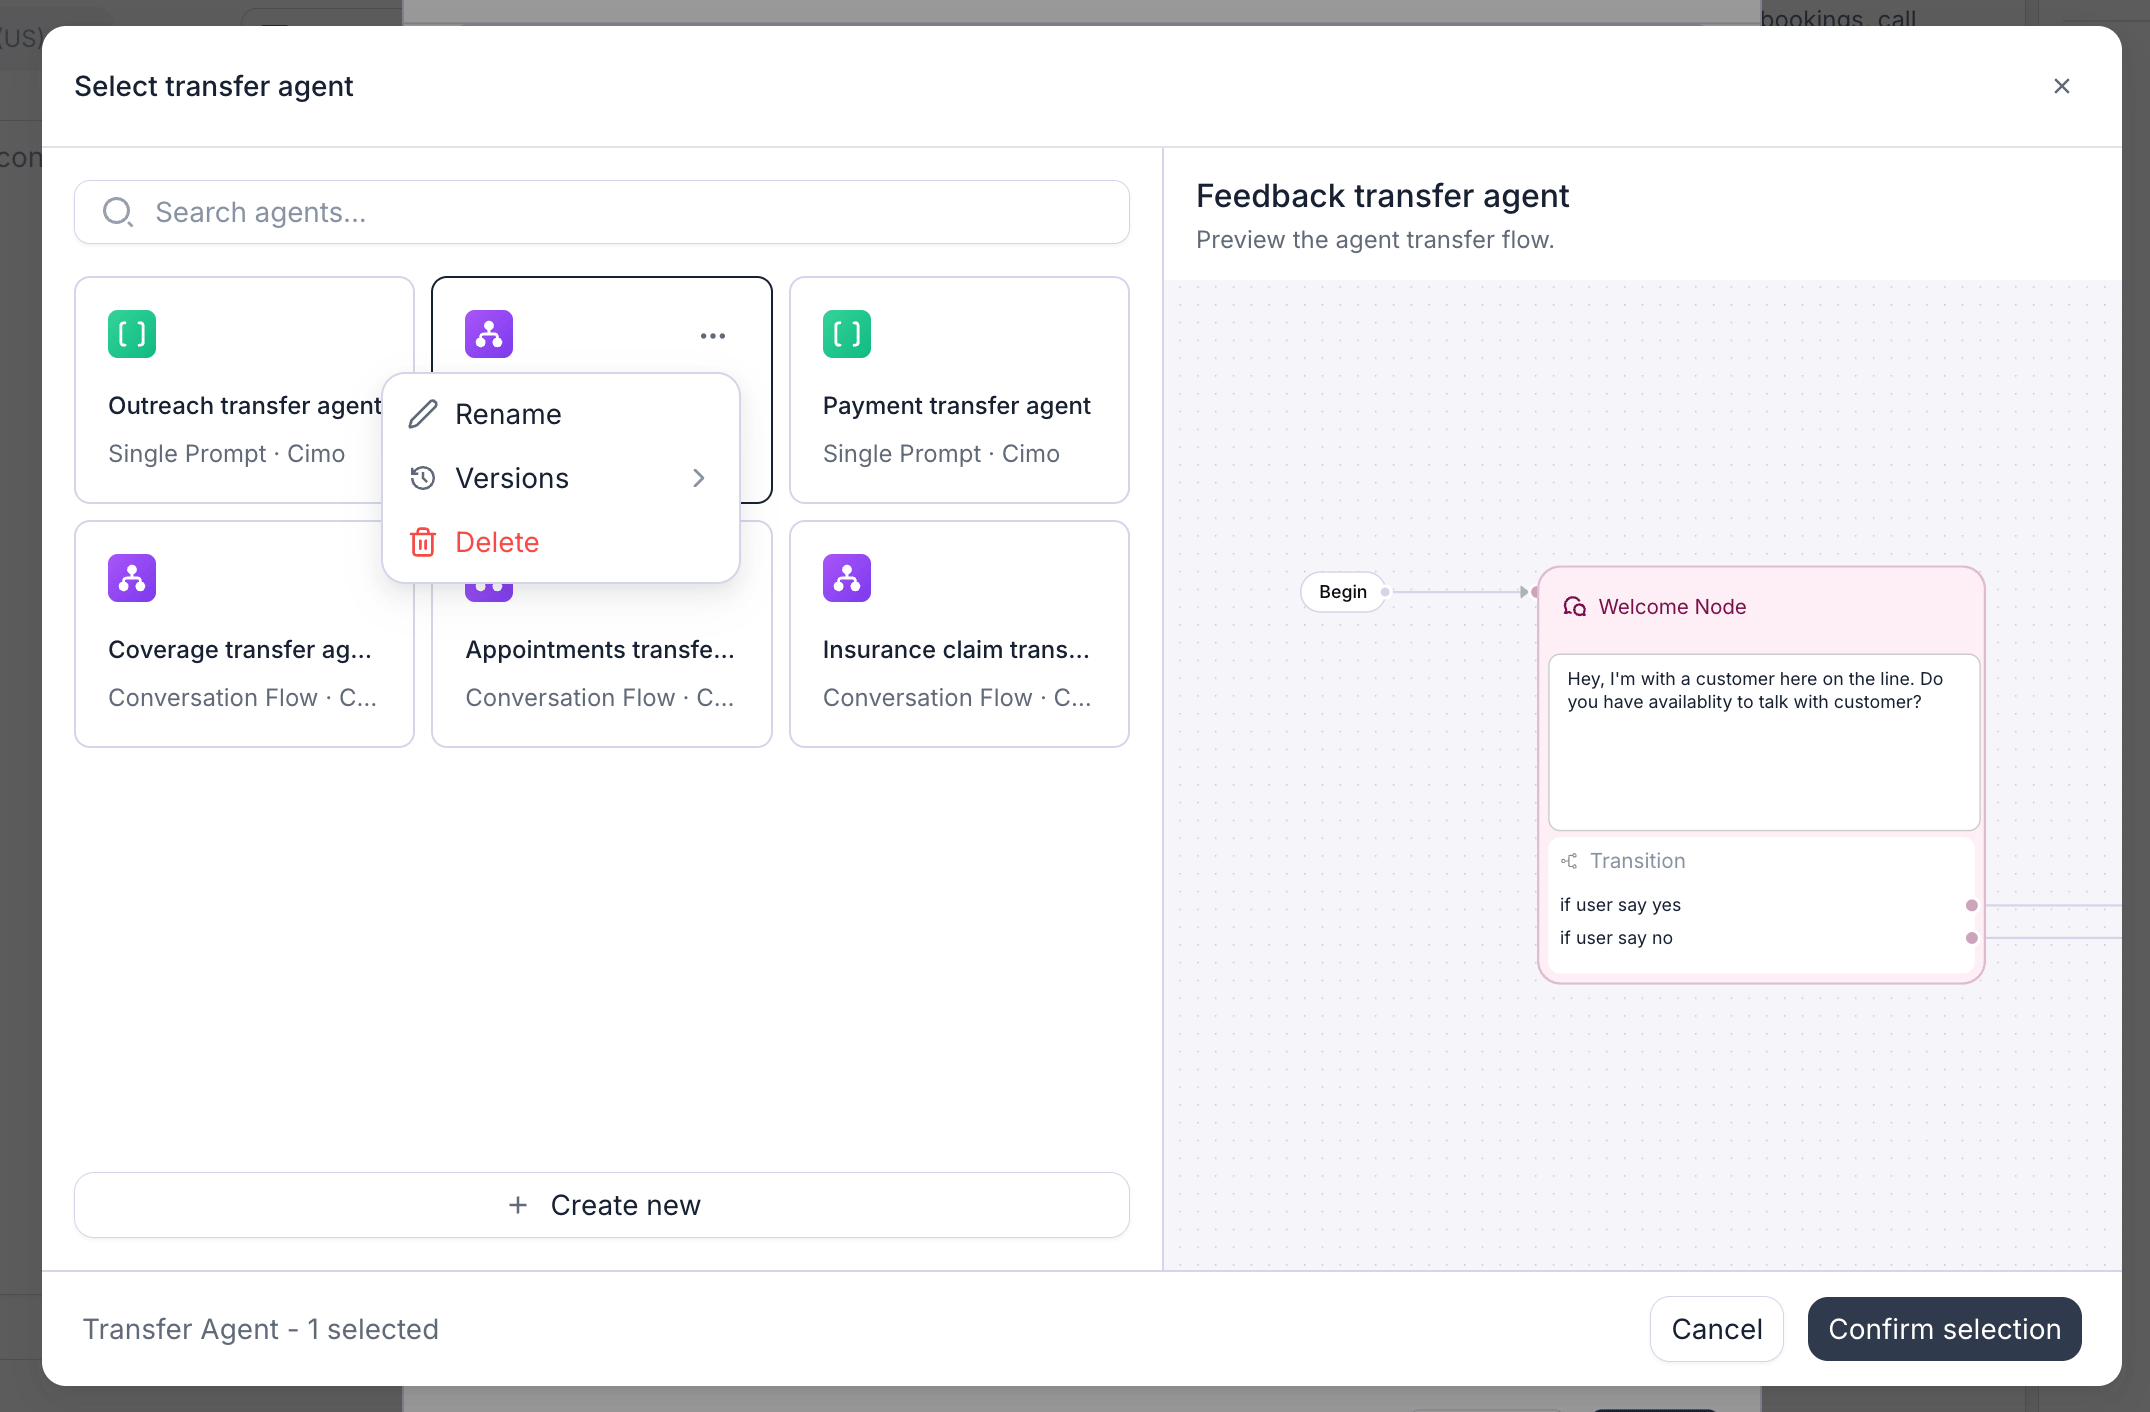
**1. Open the picker.** Click the **Two-way conversation agent** selector (it reads "Transfer screening agent" until one is chosen) to open the **Select transfer agent** window.
**2. Pick an existing one.** Use the search box to find a transfer agent, click it to see a quick preview on the right, then click **Confirm selection**.
A **transfer agent** is a separate AI agent whose only job is to receive agentic warm transfers — think of it as an AI teammate who answers the handoff, speaks with the destination, and decides whether to connect your caller. Transfer agents are kept separate from your normal agents, so they won't clutter your main agent list.
**1. Open the picker.** Click the **Two-way conversation agent** selector (it reads "Transfer screening agent" until one is chosen) to open the **Select transfer agent** window.
**2. Pick an existing one.** Use the search box to find a transfer agent, click it to see a quick preview on the right, then click **Confirm selection**.
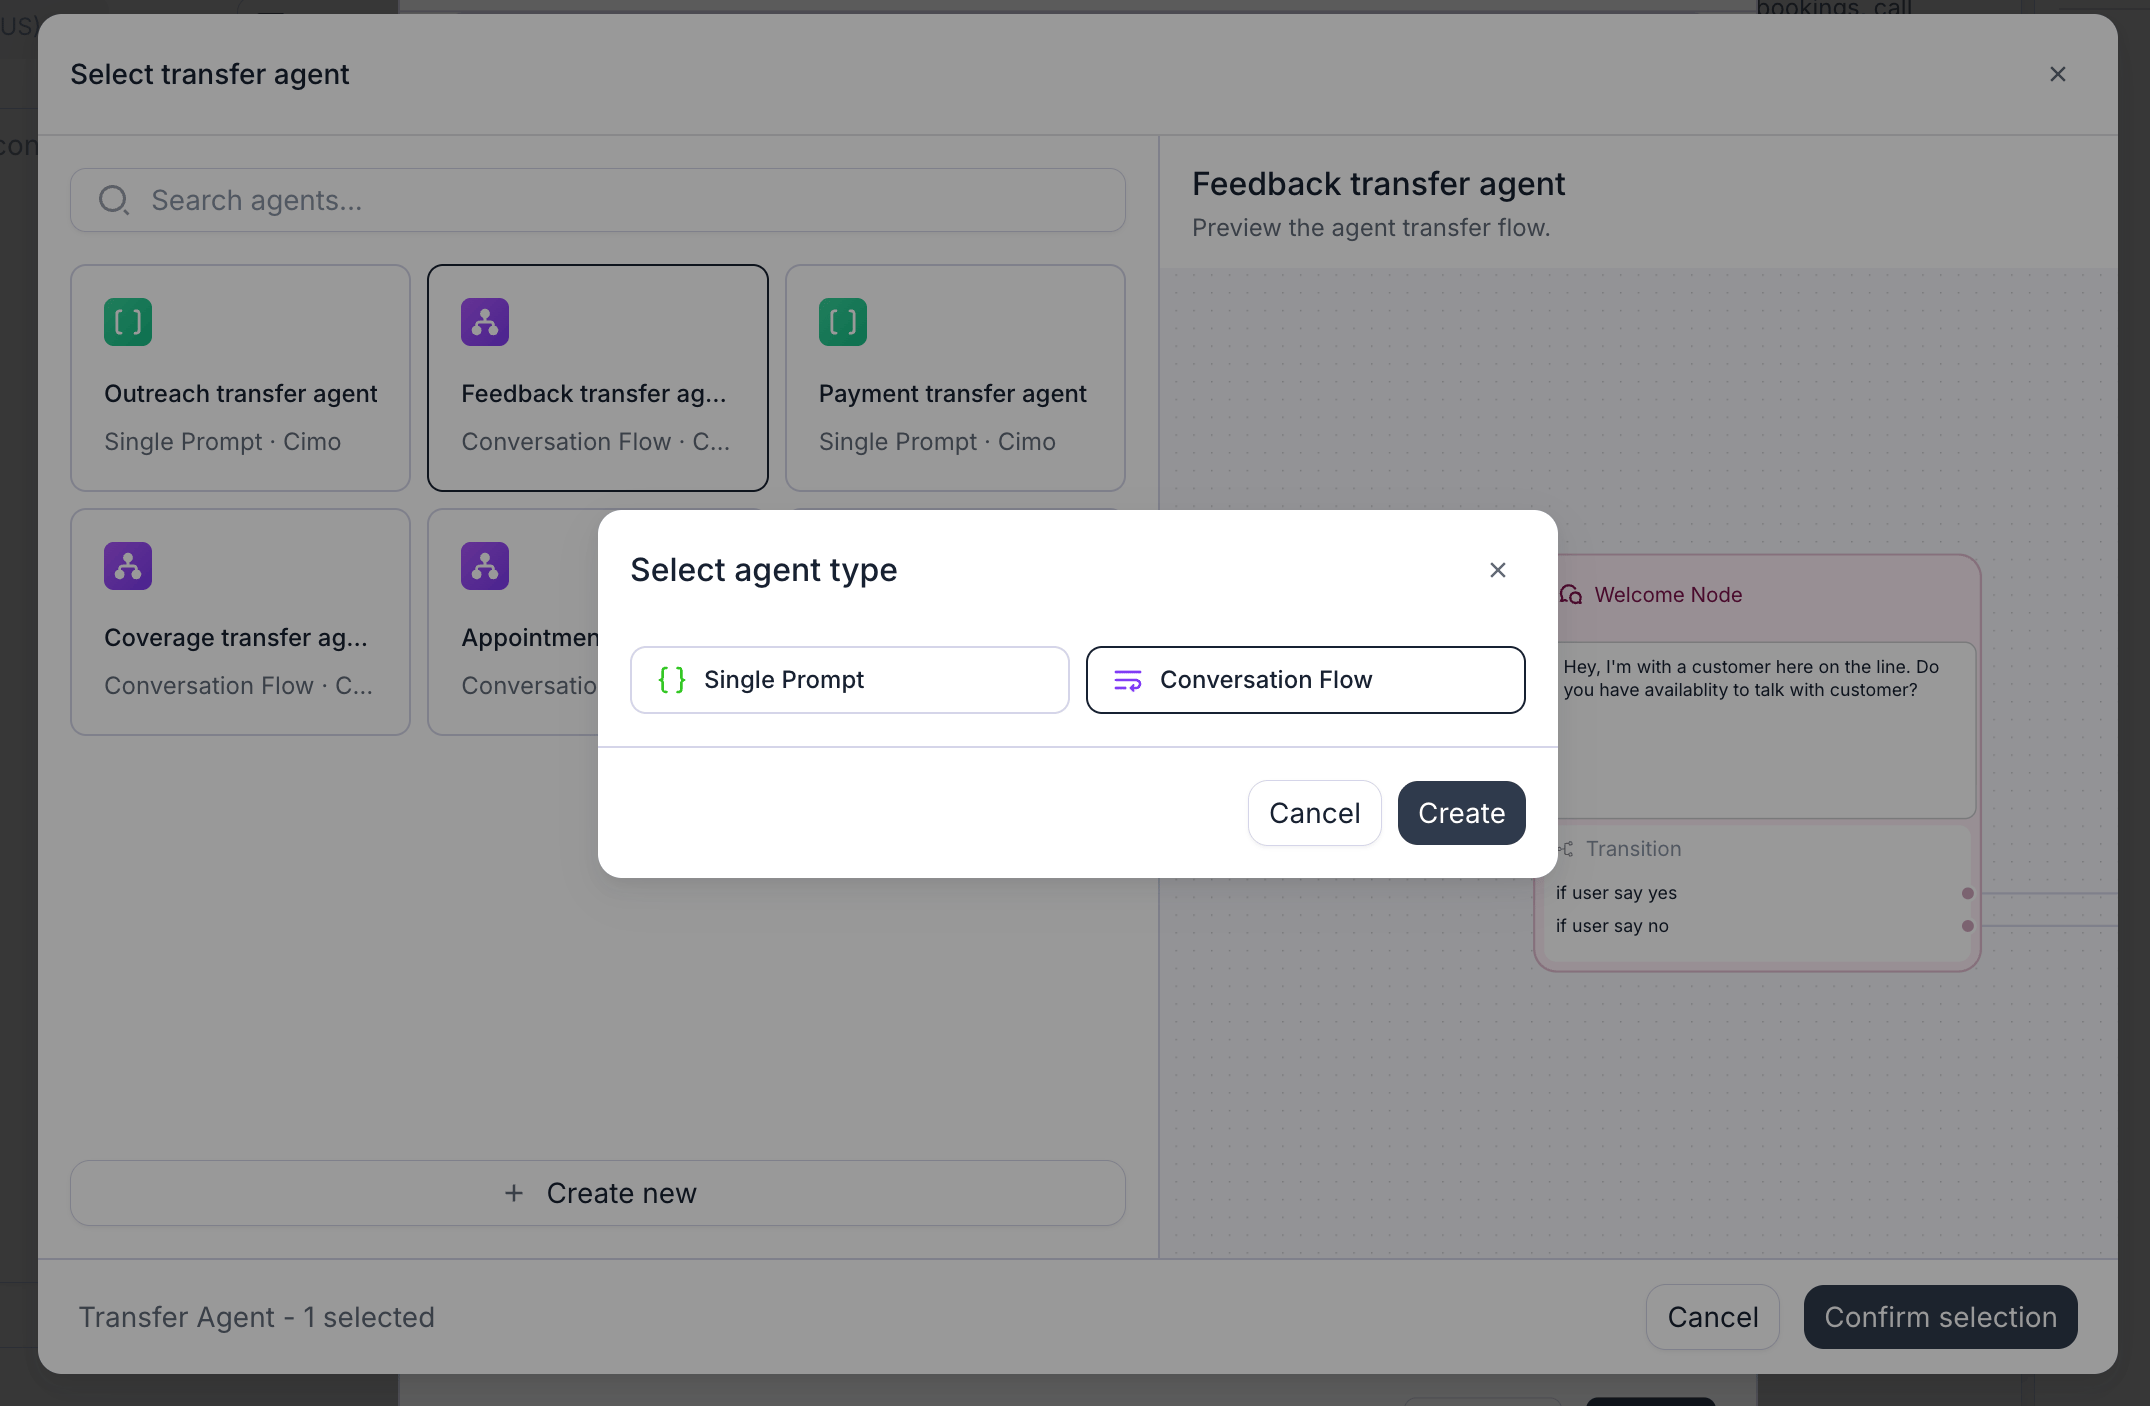
 **3. Or create a new one.** Click **Create new**, choose the type — **Single Prompt** (simplest: one set of instructions) or **Conversation Flow** (a step-by-step visual flow) — then click **Create**. The new transfer agent opens so you can set it up right away.
 **4. Manage a transfer agent.** Hover a selected agent and open its **⋯** menu to **Rename** it, use Versions to select a specific **Version** (otherwise it always uses the latest), or **Delete** it. Deleting removes all versions and also removes it from any transfer that was using it.
 Once selected, you'll see the transfer agent's voice, with an arrow to open and edit that agent in a new tab whenever you need to.
When you open a transfer agent to edit it, it opens as its own tab and a **flow selector** appears at the top of the builder (showing **Main flow**). Use it to switch back to your main agent at any time.
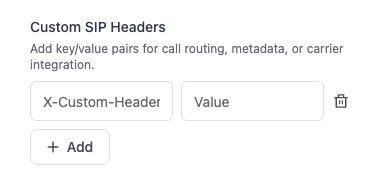
Add custom SIP headers for outbound calls. These headers are forwarded to your SIP provider on the SIP INVITE and can be used for custom routing, tagging, or metadata.
Custom SIP headers are preserved only when transferring the call directly to a SIP endpoint. They may be stripped if you are transferring the call to a PSTN number.
Once selected, you'll see the transfer agent's voice, with an arrow to open and edit that agent in a new tab whenever you need to.
When you open a transfer agent to edit it, it opens as its own tab and a **flow selector** appears at the top of the builder (showing **Main flow**). Use it to switch back to your main agent at any time.
Add custom SIP headers for outbound calls. These headers are forwarded to your SIP provider on the SIP INVITE and can be used for custom routing, tagging, or metadata.
Custom SIP headers are preserved only when transferring the call directly to a SIP endpoint. They may be stripped if you are transferring the call to a PSTN number.
All header names must start with `X-` or must be `User-To-User` (case insensitive)