

Overview
The Retell embeddable website widget is a production-ready, customizable, and secure widget for websites, powered by the Retell API. The widget is embeddable via a single<script> tag and uses the Retell public key system, allowing direct API calls from the frontend—no backend proxy required.
The widget supports two modes:
- Chat & Voice Widget: Text-based conversations and real-time voice calls, powered by chat and/or voice agents
- Callback Widget: Phone-based conversations using a voice agent
Video tutorial
Walkthrough of embedding the widget on a site and configuring its chat, voice, and callback modes.Prerequisites
Before embedding either widget, you’ll need:- Create an Agent:
- For chat widget: Create a chat agent using the Create Chat Agent guide. Optionally, create a voice agent to enable voice calls within the chat widget.
- For callback widget: Create a voice agent to handle phone conversations
- Get Your Credentials:
- Your Retell Public Key
- Your Retell agent ID (chat agent for text chat, voice agent for voice calls or callback)
- For callback widget: Your Retell phone number
Chat Widget
The chat widget provides text-based conversations through a chat interface. When a voice agent is also configured, users can make real-time voice calls directly within the widget.Setup
Add the following script tag to your HTML, within the<head> tag:
Chat Widget Attributes
Required (at least one):data-public-key- Your Retell public key (used for chat API)data-voice-public-key- Separate public key for voice/web call API. At least one ofdata-public-keyordata-voice-public-keyis required.
data-agent-id- Your chat agent ID (enables text chat)data-voice-agent-id- Your voice agent ID (enables real-time voice calls). When bothdata-agent-idanddata-voice-agent-idare set, the widget displays a chooser screen letting users pick between voice and chat.data-agent-version- Agent version (if unset, uses latest version)data-dynamic- JSON string with dynamic variables for the chat agent (e.g.,'{"company": "Acme"}')
data-title- Custom chat window title (default:"Chat")data-logo-url- URL of your logo imagedata-color- Hex color code for widget theme (e.g.,"#FFA07A"). Acts as a shorthand that sets bothdata-theme-coloranddata-component-color.data-theme-color- Hex color for the widget theme/background (default:"#071a3e"). Overridesdata-colorfor the theme.data-component-color- Hex color for accent elements like buttons and links (default:"#3E6AEF"). Overridesdata-colorfor components.data-fab-text- Text displayed on the floating action button (default:"Need support?")
data-bot-name- Bot name for popup messages (default:"AI Assistant")data-popup-message- Popup message before users open chatdata-show-ai-popup- Set to"true"to enable popup messages,"false"to disable (default:"true")data-show-ai-popup-time- Seconds to delay before showing popup (default:5)data-auto-open- Set to"true"to auto-open chat widget on page load (default:"false")
data-recaptcha-key- Google reCAPTCHA v3 site key for bot protection (Note: Only reCAPTCHA v3 is supported)data-white-label- White-label token to hide “Powered by Retell” branding. Contact Retell to obtain your token.
Color Customization
The chat widget supports flexible color customization through a fallback chain:
Fallback logic:
data-theme-colorfalls back todata-colorif not setdata-component-colorfalls back todata-colorif not set
data-color alone for a simple single-color theme, or combine data-theme-color and data-component-color for fine-grained control.
Voice + Chat Hybrid Mode
When bothdata-agent-id and data-voice-agent-id are provided, the widget enters hybrid mode:
- Users see a chooser screen with “Voice Assistant” and “Chat Assistant” options
- A tab bar at the bottom allows switching between voice and chat at any time
- Voice calls use WebRTC for real-time audio with a built-in audio visualizer
- Chat sessions are persisted locally and can be resumed
data-agent-id is set, the widget goes directly to the chat interface.
If only data-voice-agent-id is set, the widget goes directly to the voice call interface.
reCAPTCHA Protection
The chat widget supports Google reCAPTCHA v3 for bot protection. Important: Only reCAPTCHA v3 is supported. To enable reCAPTCHA:- Include the Google reCAPTCHA v3 script in your HTML
<head>tag:
- Add the
data-recaptcha-keyattribute to your widget script with your reCAPTCHA v3 site key - Enable reCAPTCHA protection for your public key in the Retell Public Keys settings
How Chat Widget Works
- User clicks the chat widget button (displays the FAB button with customizable text)
- If voice agent is configured, a chooser screen appears; otherwise, chat opens directly
- Text chat: User types messages and receives responses from the chat agent. Chat sessions are automatically persisted in the browser’s localStorage and can be resumed later.
- Voice calls: User clicks “Voice Assistant” to start a real-time WebRTC voice call with the agent. A built-in audio visualizer displays the conversation in real time.
- If reCAPTCHA is enabled, bot protection is automatically applied to new chat sessions and voice calls
Testing Chat Widget
After adding the widget to your website:- Load your website
- Click the floating button (bottom right)
- If both agents are configured, choose between voice or chat mode
- Start a conversation with your agent
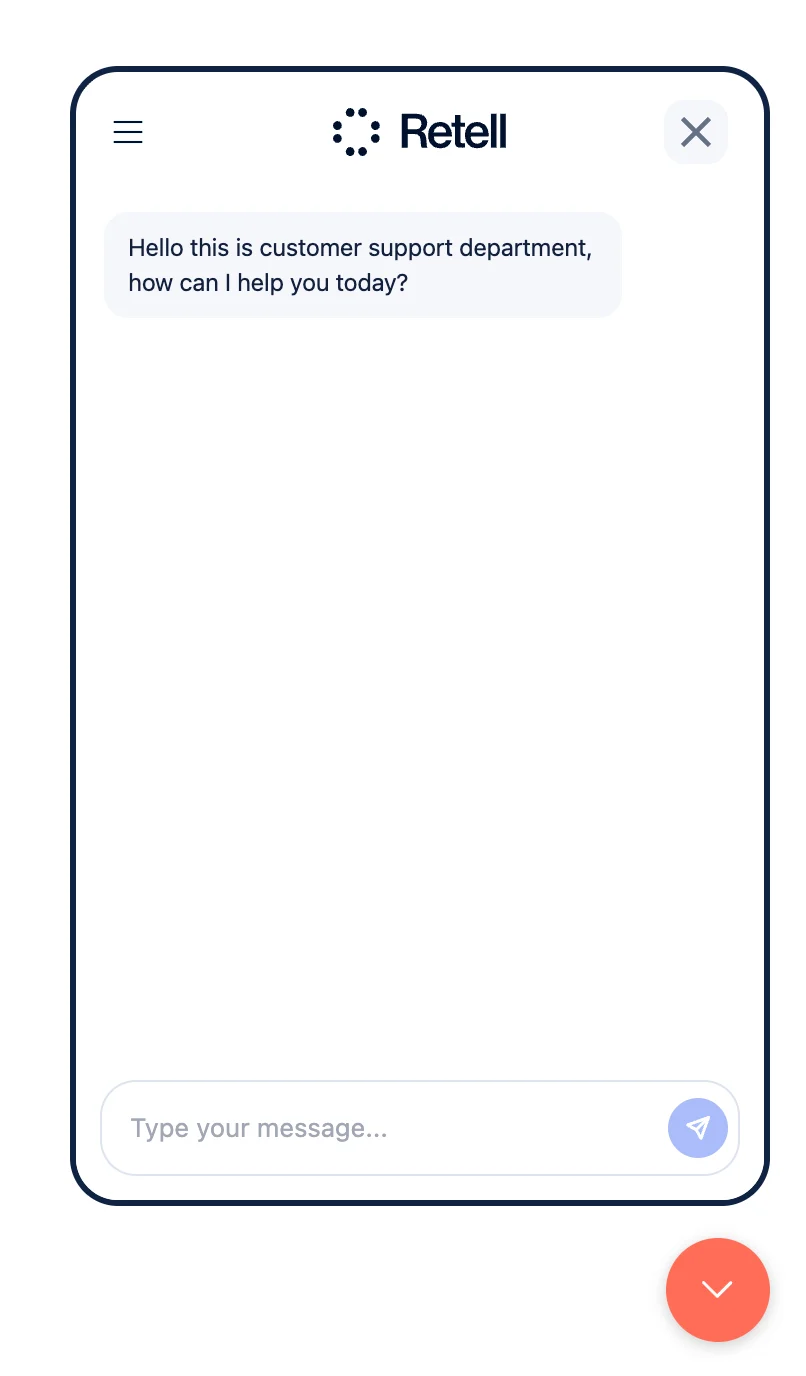
Example: Chat Widget (Text Chat Only)
Example: Chat Widget (Voice + Chat Hybrid)
Callback Widget
The callback widget collects user information and initiates a phone call instead of a chat session. This mode requires a voice agent to handle the phone conversation.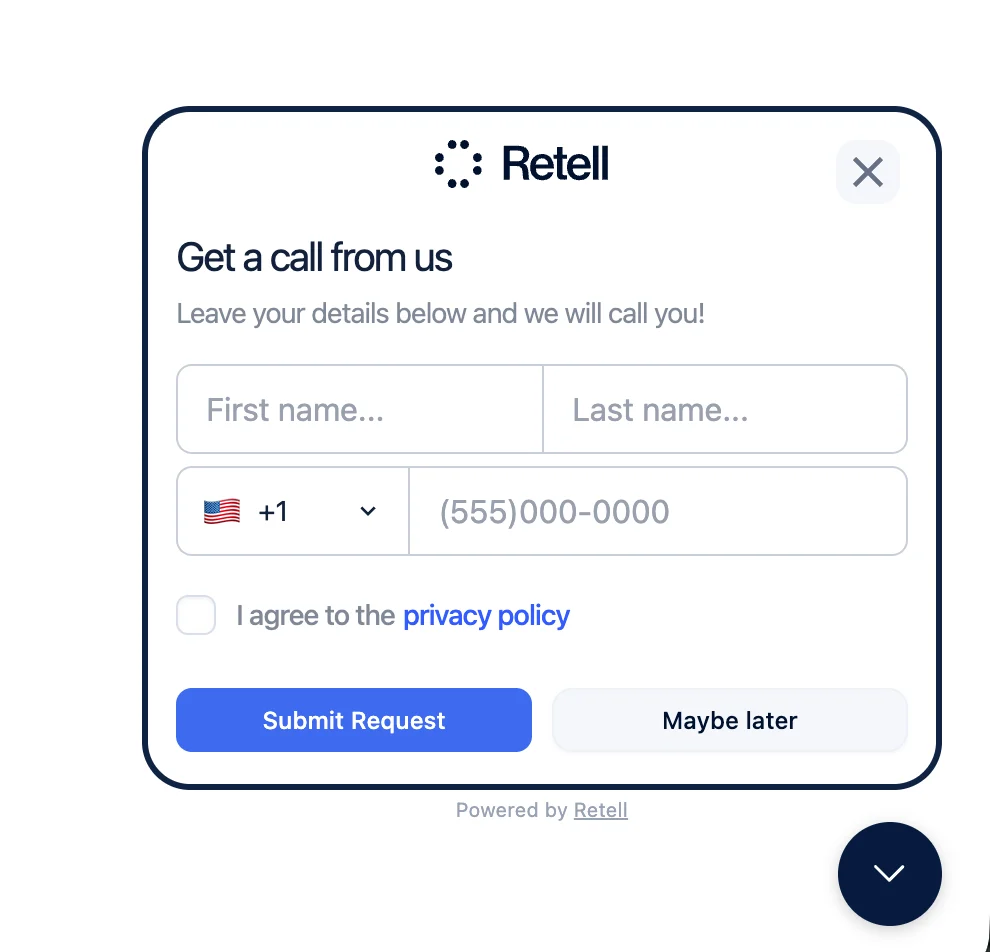
Setup
Add the following script tag to your HTML, within the<head> tag:
Callback Widget Attributes
Required:data-public-key- Your Retell public keydata-agent-id- Your voice agent ID (not chat agent)data-widget="callback"- Enables callback modedata-phone-number- Your Retell phone number that will make the outbound call
data-title- Custom widget titledata-color- Hex color code for widget themedata-countries- Comma-separated country codes for country selector (e.g., “US,CA,GB”)data-tc- URL to your terms and conditions pagedata-recaptcha-key- Google reCAPTCHA v3 site key for bot protection
How Callback Widget Works
Note: The callback widget supports the same reCAPTCHA v3 protection as the chat widget. To enable it, follow the instructions in the reCAPTCHA Protection section above.- User clicks the callback widget button (displays a phone icon)
- A form appears collecting:
- First name (required)
- Last name (required)
- Phone number (required)
- Privacy policy agreement checkbox (required)
- User submits the form
- If reCAPTCHA is enabled, the form submission is validated
- The widget creates a phone call using the Retell API
- User receives a call from your specified phone number
- The conversation is handled by your configured voice agent
Testing Callback Widget
After adding the widget to your website:- Load your website
- Click the floating button (bottom right, phone icon)
- Fill out the contact form
- Submit and wait for the phone call
Example: Callback Widget
Widget Behavior Summary
- Chat Widget (text only): Shows FAB button, opens chat interface for text conversations with persisted chat history
- Chat Widget (voice + chat): Shows FAB button, displays chooser screen for voice calls or text chat with tab switching
- Callback Widget: Shows phone icon, opens form to collect contact info and initiates phone call