

Default Workspace
When you first create an account, a default workspace is automatically created for you. This workspace serves as your primary environment for managing projects and collaborating with team members.Find your workspace ID / org ID
Sometimes we might ask for your workspace ID / org ID when debugging issues related to your account. You can find it in your workspace settings page. Open Settings from the sidebar: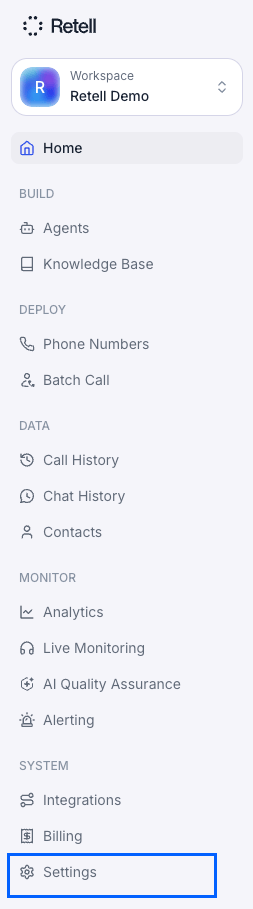
Settings in the sidebar
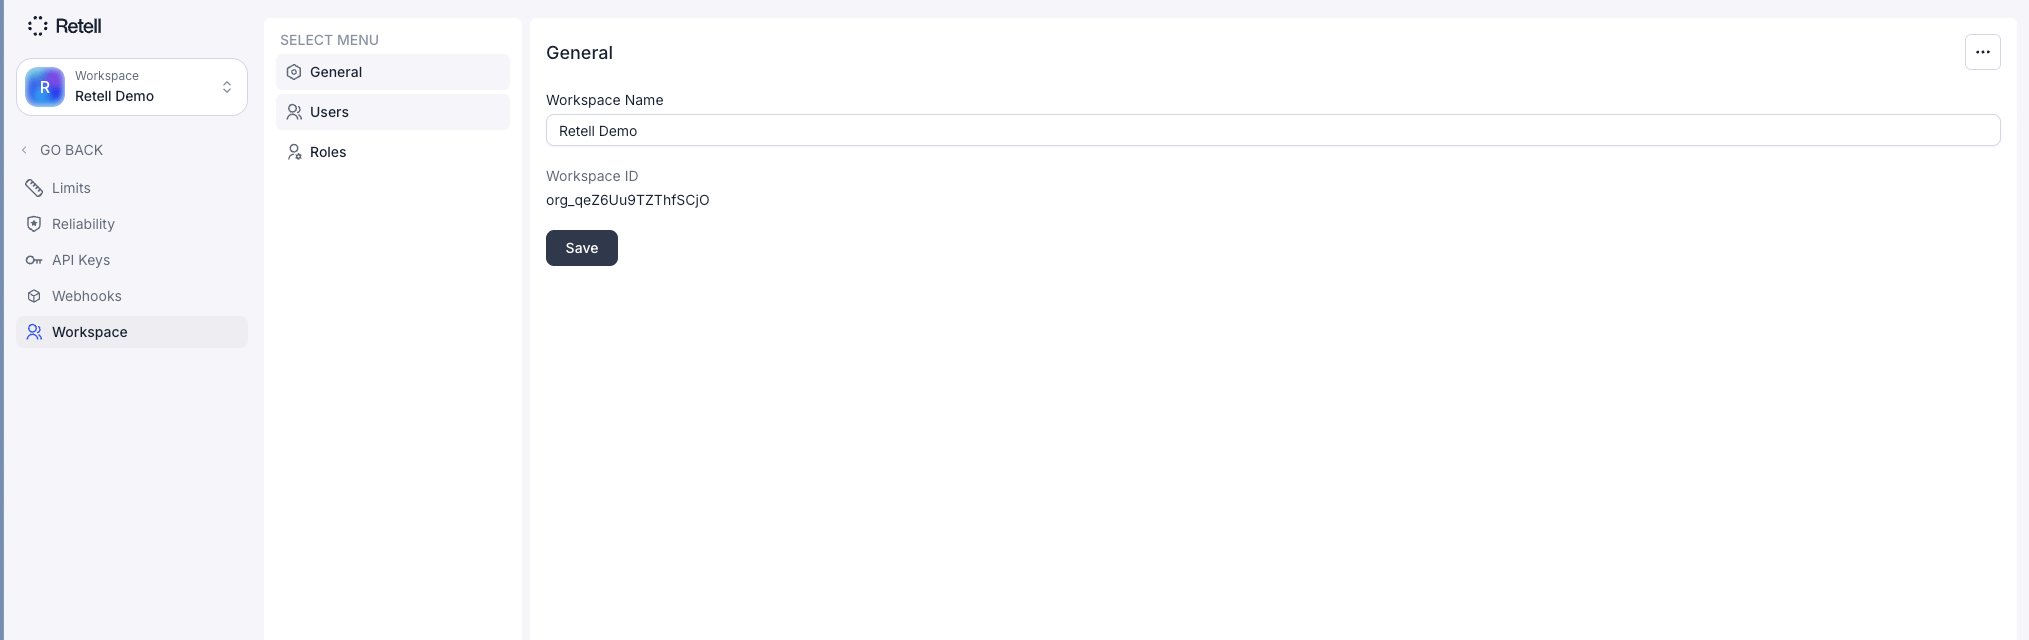
Workspace ID in General settings
Creating Additional Workspaces
To create a new workspace:- Click the workspace selector in the top left corner of the dashboard
- Select Add another workspace
- Enter your workspace name
- Click Save
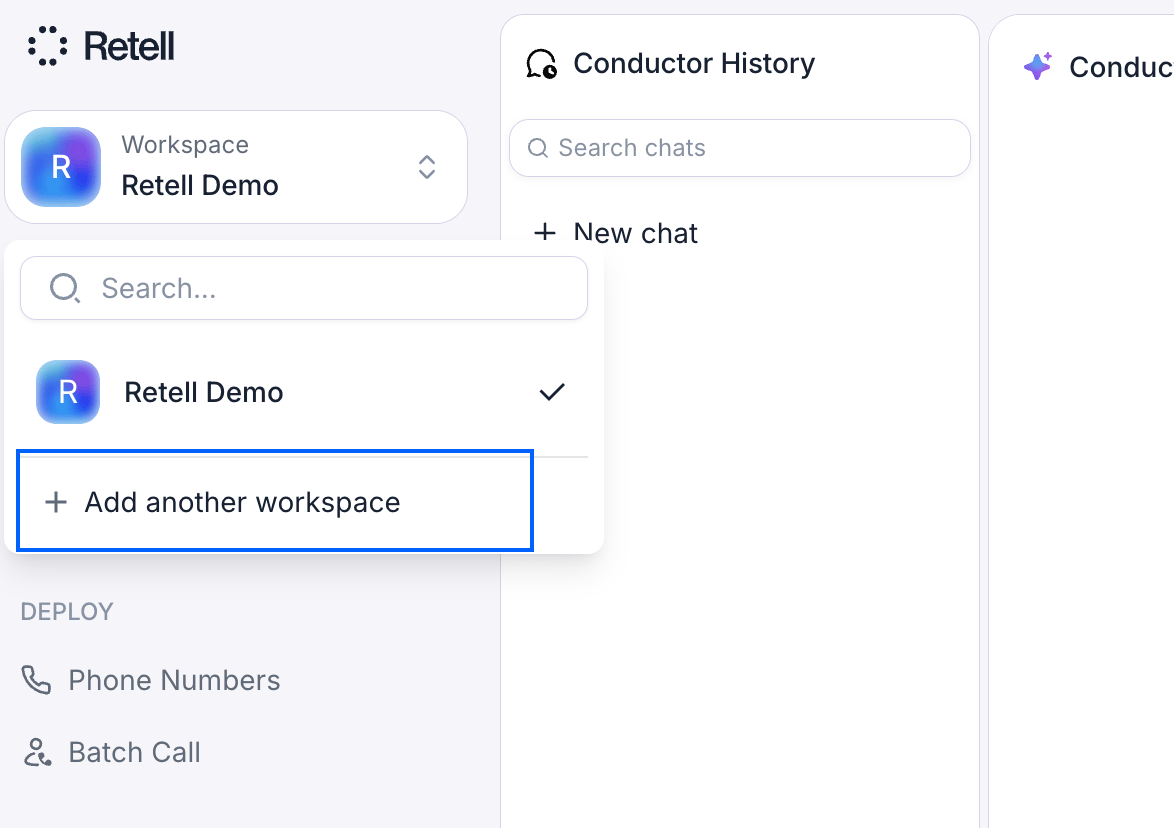
Workspace selector with Add another workspace
Use workspaces to separate customers, tenants, or environments
Each workspace is a fully isolated boundary in Retell. Use additional workspaces when you need to keep resources, keys, and billing apart between customers, tenants, or environments (for example, dev vs. production). What a workspace isolates:- Agents, conversation flows, LLMs, knowledge bases, voices, and phone numbers — resources created in one workspace are not visible from another.
- API keys — each workspace issues its own API keys. A key from one workspace cannot access another workspace’s data. Requests are scoped to the workspace that issued the key.
- Billing and usage — each workspace has its own payment method, credit balance, invoices, and usage totals. Adding a card in one workspace does not carry over to another.
- Members and roles — invites and role assignments are per workspace. A user can belong to multiple workspaces with different roles in each.
- Webhooks and telephony settings — configured per workspace.
Common patterns
- Agency or reseller managing multiple clients — create one workspace per client so each client’s agents, numbers, keys, and invoices stay separate. Invite the client’s team into their own workspace with the role you want them to have.
- Multi-tenant SaaS built on Retell — if you resell Retell capacity to your own end customers, keep all Retell resources in a single workspace and model your tenants in your own application database. Use metadata and dynamic variables on each call to attribute usage back to your tenant. Retell does not expose an API to programmatically create, delete, or switch workspaces, so per-tenant workspace provisioning has to be done by hand in the dashboard.
- Separating environments — create separate workspaces for development, staging, and production so test traffic, keys, and billing don’t mix with live customer traffic.
Switch between workspaces
Use the workspace selector in the top-left of the dashboard to switch. Every workspace you belong to appears in the dropdown, and each workspace remembers its own settings, keys, and billing.Managing Team Members
Inviting Members
To invite team members to your workspace:- Open Settings → Workspace → Users
- Click Invite a member
- Enter their email address and select a role
- Send the invitation
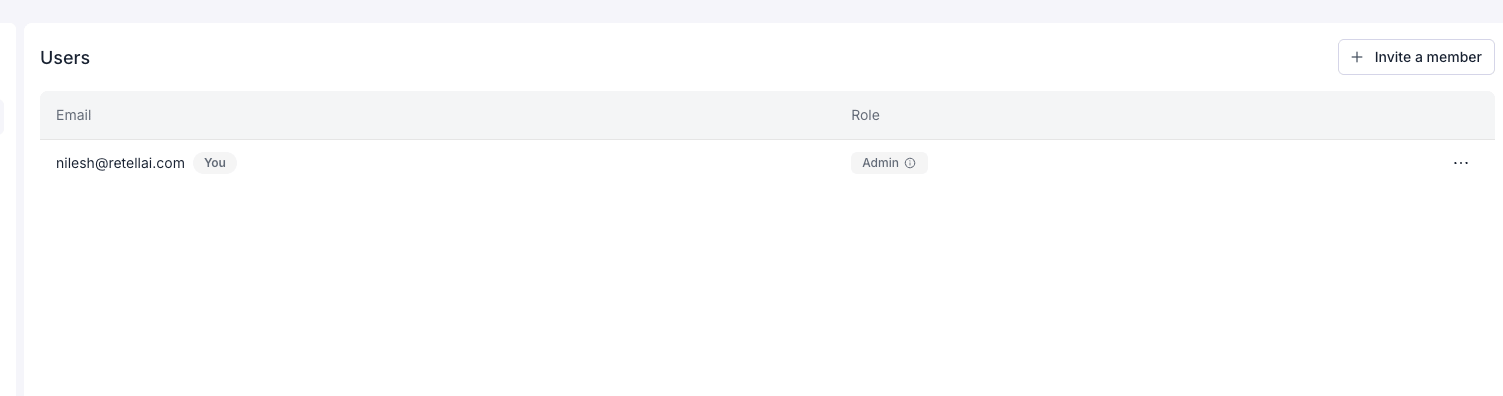
Users list
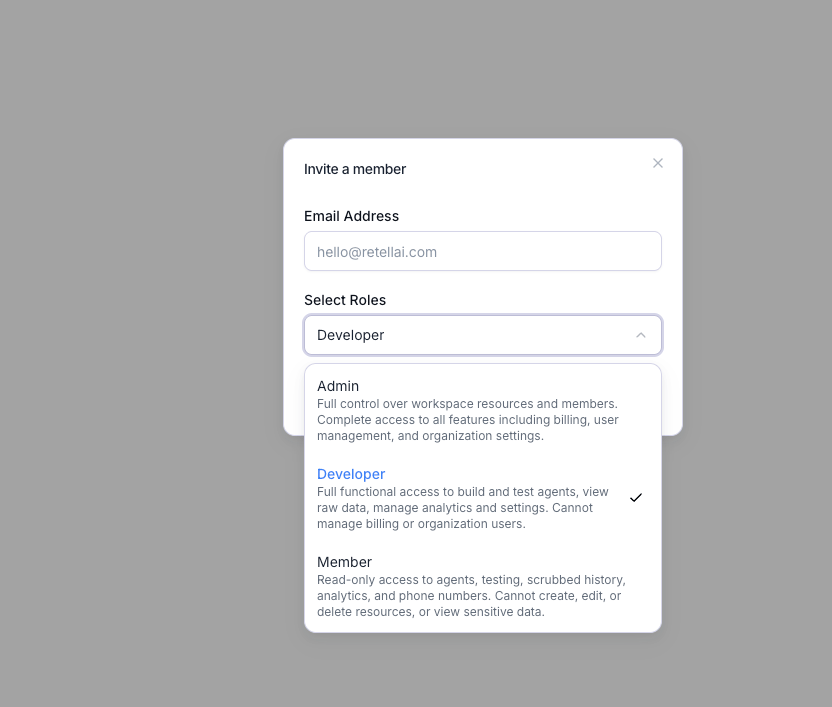
Invite a member dialog
Invitation Process
- Invited members receive an email with a link to join the workspace
- They can create a new account or use an existing one
- Once accepted, they have immediate access
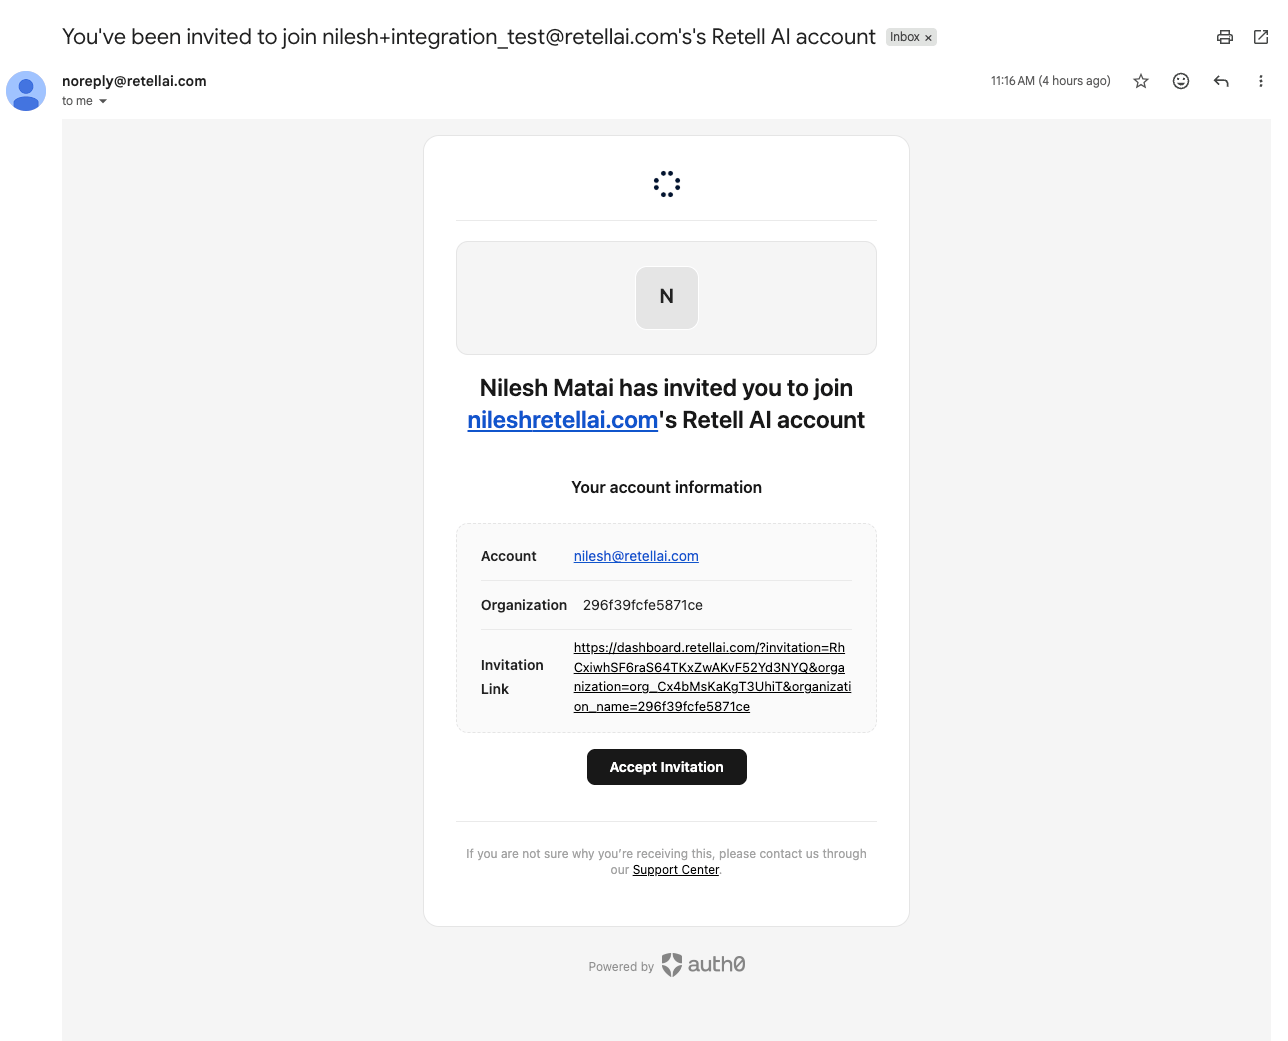
Invitation email
Leave a Workspace
To leave a workspace:- Open Settings → Workspace → Users
- Click Leave Workspace
- Confirm your action
- If you are the only member, leaving permanently deletes the workspace and all its data, and a final invoice is generated for any outstanding usage — the same as deleting the workspace. Your account stays active and you keep access to any other workspaces.
- If other members remain but you are the workspace’s last admin, you can’t leave until another member has the Admin role. Assign Admin to someone else first, or delete the workspace.
- You can rejoin a workspace if another member invites you back.
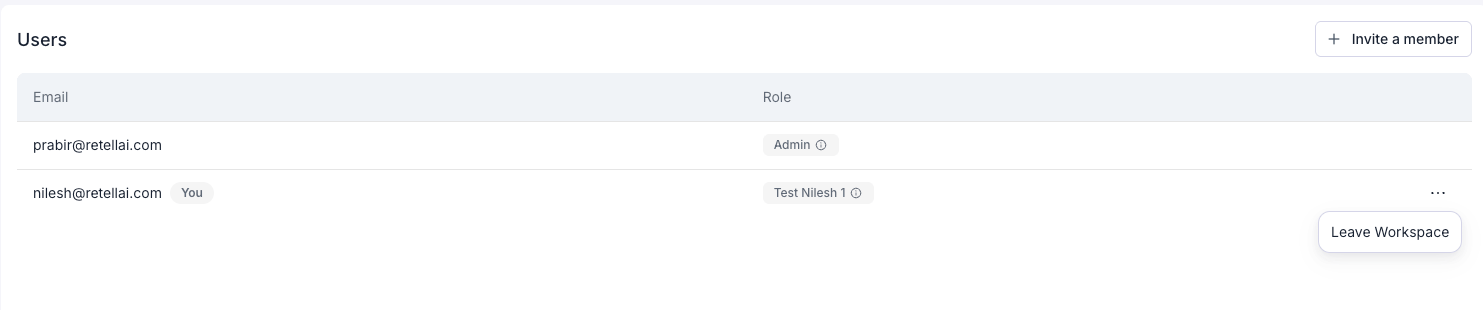
Leave Workspace on the Users page
Delete Workspace
Only a workspace Admin can delete a workspace. In Settings → Workspace → General, open the options menu (⋯) and select Delete, then type the workspace name to confirm. Before deletion, please note:- All workspace data will be permanently deleted and cannot be recovered
- A final invoice will be generated and charged for any usage up to the deletion date
- All team members will lose access to the workspace
- Any active API keys will be invalidated
If there is no payment method on file when you delete the workspace, the final invoice is still generated for any outstanding usage and remains due. Add a valid payment method before deleting (see Add payment methods) so the final charge can settle automatically. If a charge fails afterward, follow Handle failed payments or contact Retell support to resolve the balance.
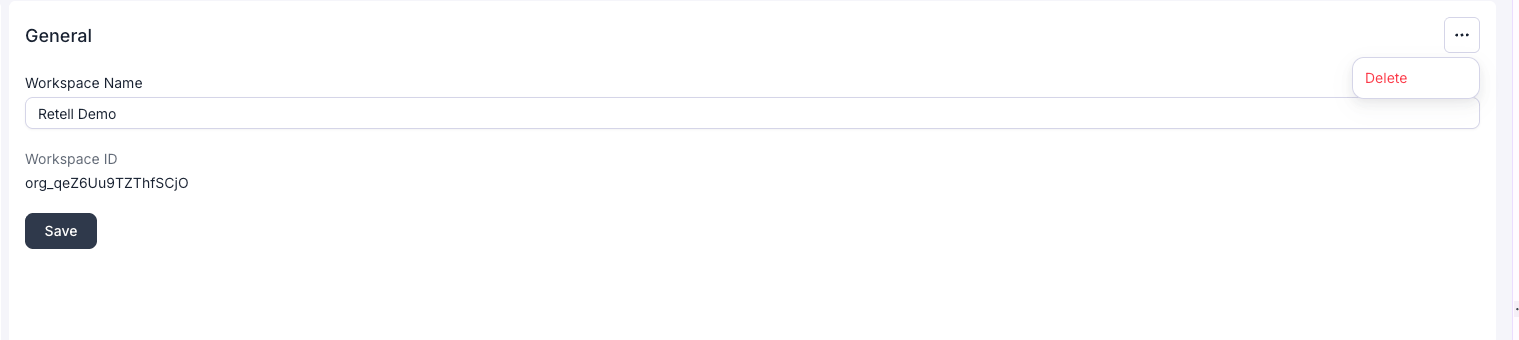
Delete option in General settings
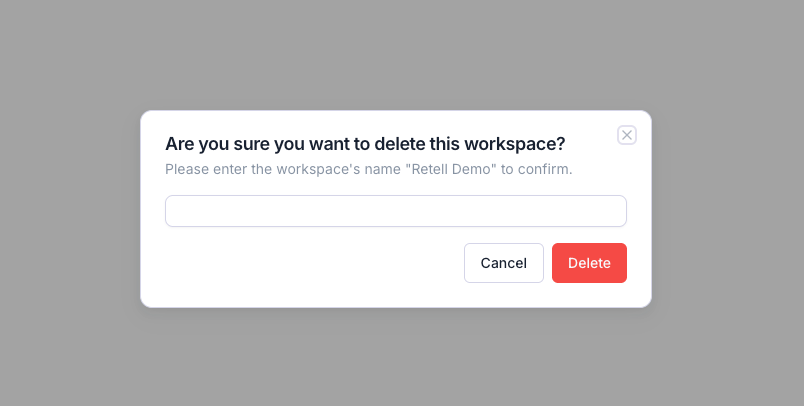
Delete workspace confirmation