Integrating AI with domain-specific knowledge involves setting up
LLM WebSocket. Our API manages the acoustic interactions,
while your LLM (or any other response systems) adds
domain expertise. This setup allows our system to communicate directly with your
server via WebSocket.
In this guide, you will see a step by step walkthrough how to set a websocket server up and integrate
with our API with a dummy response system (don’t worry, we’ll cover how to connect to LLM in next section).
The guide contains code snippets for Node.js (with Express.js) / Python (with FastAPI), and for other
languages / tech stacks, feel free
to adapt the underlying concepts as necessary.
Incoming requests by only allowlist these Retell IP addresses: 100.20.5.228
Understanding WebSockets
Unlike the request-response model of HTTPS, WebSockets maintain an open
connection between the client and server. This facilitates two-way message
exchange without needing to reestablish connections, enabling faster data streaming. For more details on
WebSockets, check out
this blog and
Websocket API Doc.
Understand Communication Protocol
We have defined this protocol that our server
would communicate with your server in. We recommend reading this first before following the guide.
Generally, the protocol requires:
- Your server to send the first message: send empty response to let user speak first.
- We will send live transcripts to your server, and expect responses when we need to.
- You will stream what you want your agent to say to our server, and we will speak it out.
Step 1: Add a basic websocket endpoint to your server
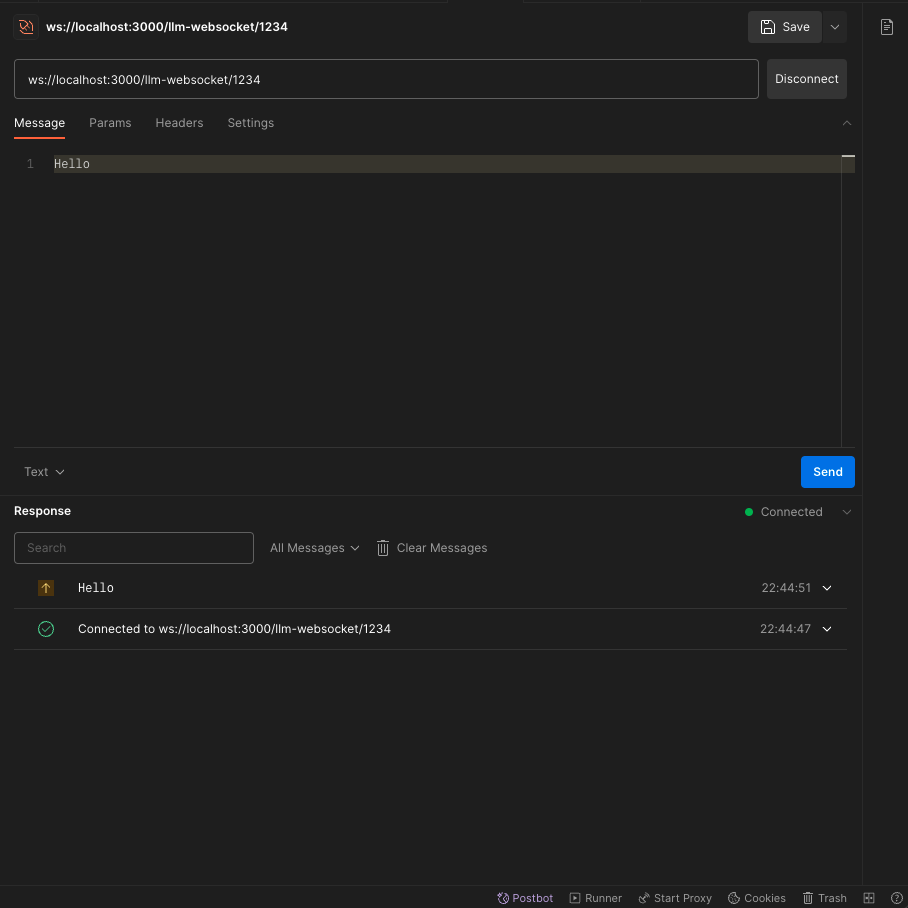
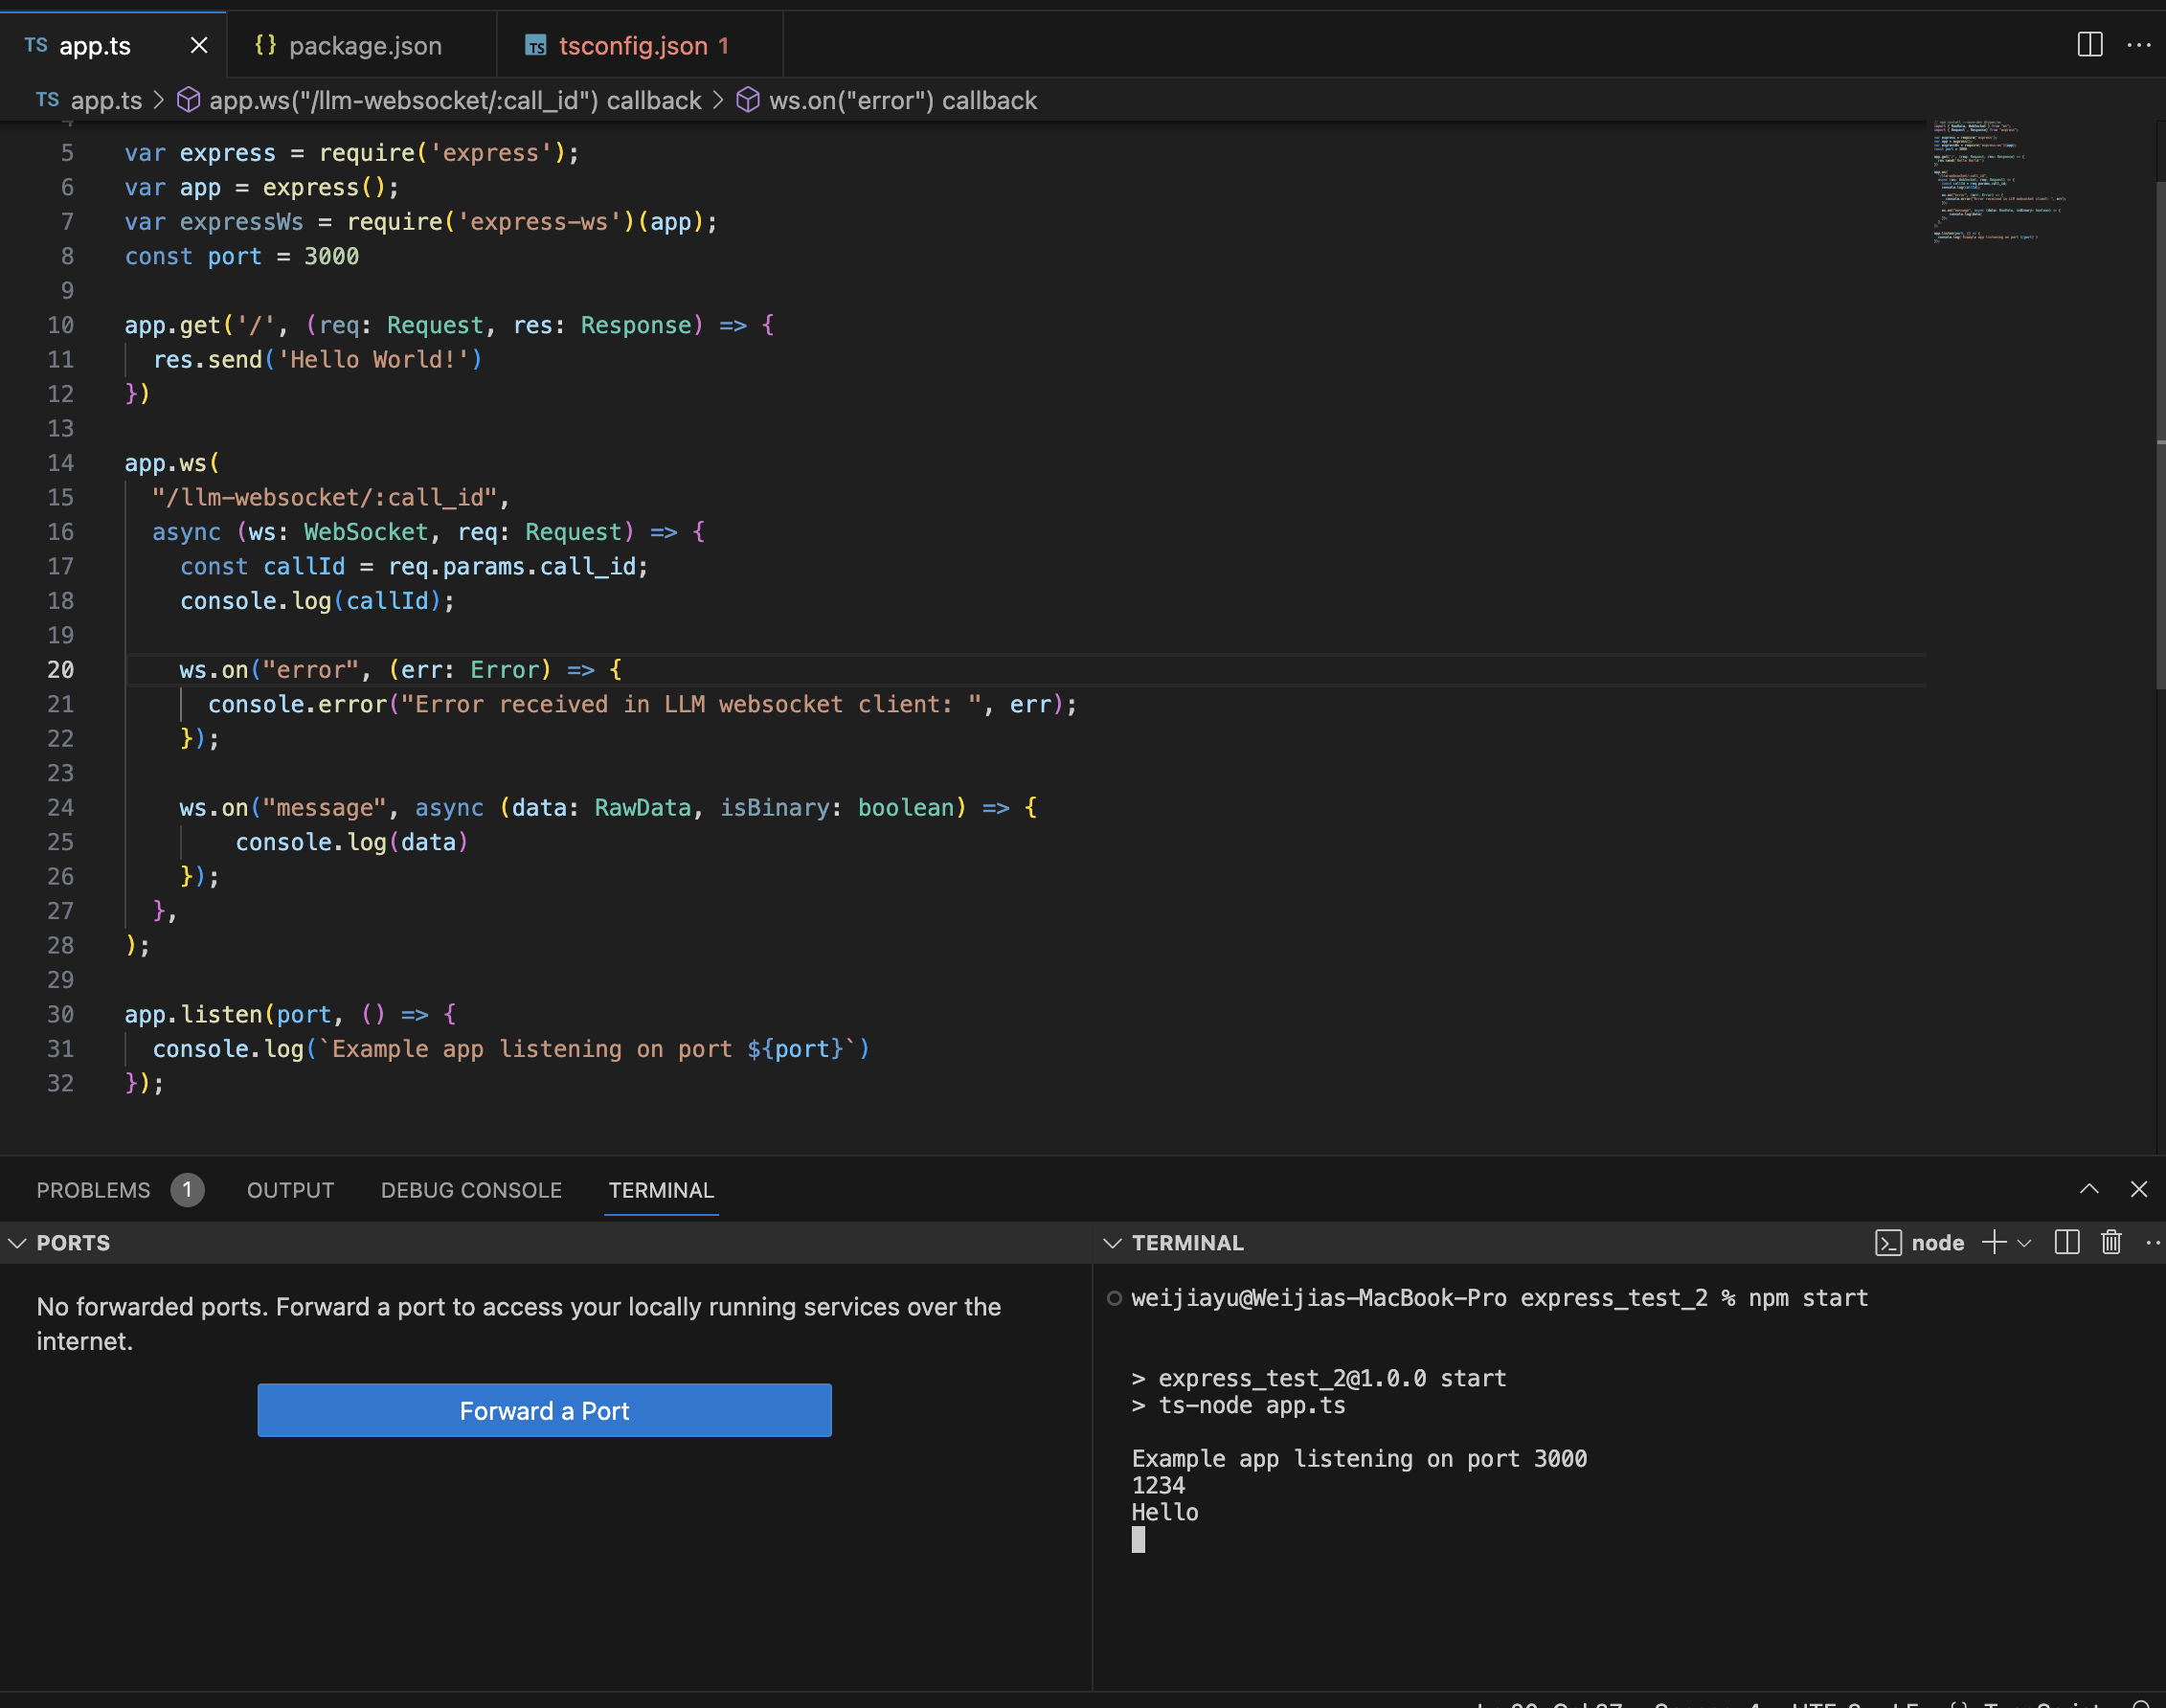
In this step, you will add a basic websocket endpoint to your express server to
receive message.
If you already have a server up and running, you can add the following code next to your other routes.
import { RawData, WebSocket } from "ws";
import { Request } from "express";

var express = require('express');
var app = express();
var expressWs = require('express-ws')(app);
const port = 3000

// Your other API endpoints
app.get('/', (req, res) => {
  res.send('Hello World!')
})

app.ws("/llm-websocket/:call_id",
  async (ws: WebSocket, req: Request) => {
    // callId is a unique identifier of a call, containing all information about it
    const callId = req.params.call_id;

    // You need to send the first message here, but for now let's skip that.

    ws.on("error", (err) => {
      console.error("Error received in LLM websocket client: ", err);
    });
    ws.on("message", async (data: RawData, isBinary: boolean) => {
      // Retell server will send transcript from caller along with other information
      // You will be adding code to process and respond here
      console.log(data);
    });
  },
);

app.listen(port, () => {
  console.log(`Example app listening on port ${port}`)
});
Step 2: Create a Dummy Response System
In this step, You will not connect with your LLM yet. Instead, let’s just build
a dummy response system who can greet with “How may I help you?”, and reply
every users’ questions with “I am sorry, can you say that again?”.
Don’t worry about the dumb agent, we will connect your LLM and make it smart
later.
import { WebSocket } from "ws";

interface Utterance {
  role: "agent" | "user";
  content: string;
}

// LLM Websocket Request Object
export interface RetellRequest {
  response_id?: number;
  transcript: Utterance[];
  interaction_type: "update_only" | "response_required" | "reminder_required";
}

// LLM Websocket Response Object
export interface RetellResponse {
  response_id?: number;
  content: string;
  content_complete: boolean;
  end_call: boolean;
}

export class LLMDummyMock {
  constructor() {
  }

  // First sentence requested
  BeginMessage(ws: WebSocket) {
    const res: RetellResponse = {
      response_id: 0,
      content: "How may I help you?",
      content_complete: true,
      end_call: false,
    };
    ws.send(JSON.stringify(res));
  }

  async DraftResponse(request: RetellRequest, ws: WebSocket) {
    if (request.interaction_type === "update_only") {
      // process live transcript update if needed
      return;
    }

    try {
      const res: RetellResponse = {
        response_id: request.response_id,
        content: "I am sorry, can you say that again?",
        content_complete: true,
        end_call: false,
      };
      ws.send(JSON.stringify(res));
    } catch (err) {
      console.error("Error in gpt stream: ", err);
    }
  }
}
llmClient.DraftResponse() to get response.
// Remember to import the dummy class you wrote

app.ws("/llm-websocket/:call_id",
  async (ws: WebSocket, req: Request) => {
    const callId = req.params.call_id;
    const llmClient = new LlmDummyMock();

    ws.on("error", (err: Error) => {
      console.error("Error received in LLM websocket client: ", err);
    });

    // Send Begin message
    llmClient.BeginMessage(ws);

    ws.on("message", async (data: RawData, isBinary: boolean) => {
      if (isBinary) {
        console.error("Got binary message instead of text in websocket.");
        ws.close(1002, "Cannot find corresponding Retell LLM.");
      }
      try {
        const request: RetellRequest = JSON.parse(data.toString());
        // LLM will think about a response
        llmClient.DraftResponse(request, ws);
      } catch (err) {
        console.error("Error in parsing LLM websocket message: ", err);
        ws.close(1002, "Cannot parse incoming message.");
      }
    });
  },
);
Step 3: Test your basic agent on Dashboard
At this point, you are ready to make your basic agent speak in the dashboard.
-
If you deploy your server, you can get a url using your domain:
wss://your_domain_name/llm-websocket/
-
If you want to test your code locally, you can use
ngrok to generate a production url forwarding requests
to your local endpoints. You can watch this
video to learn how
to do that. After getting your ngrok url, you will have a url
wss://xxxxx.ngrok-free.app/llm-websocket/
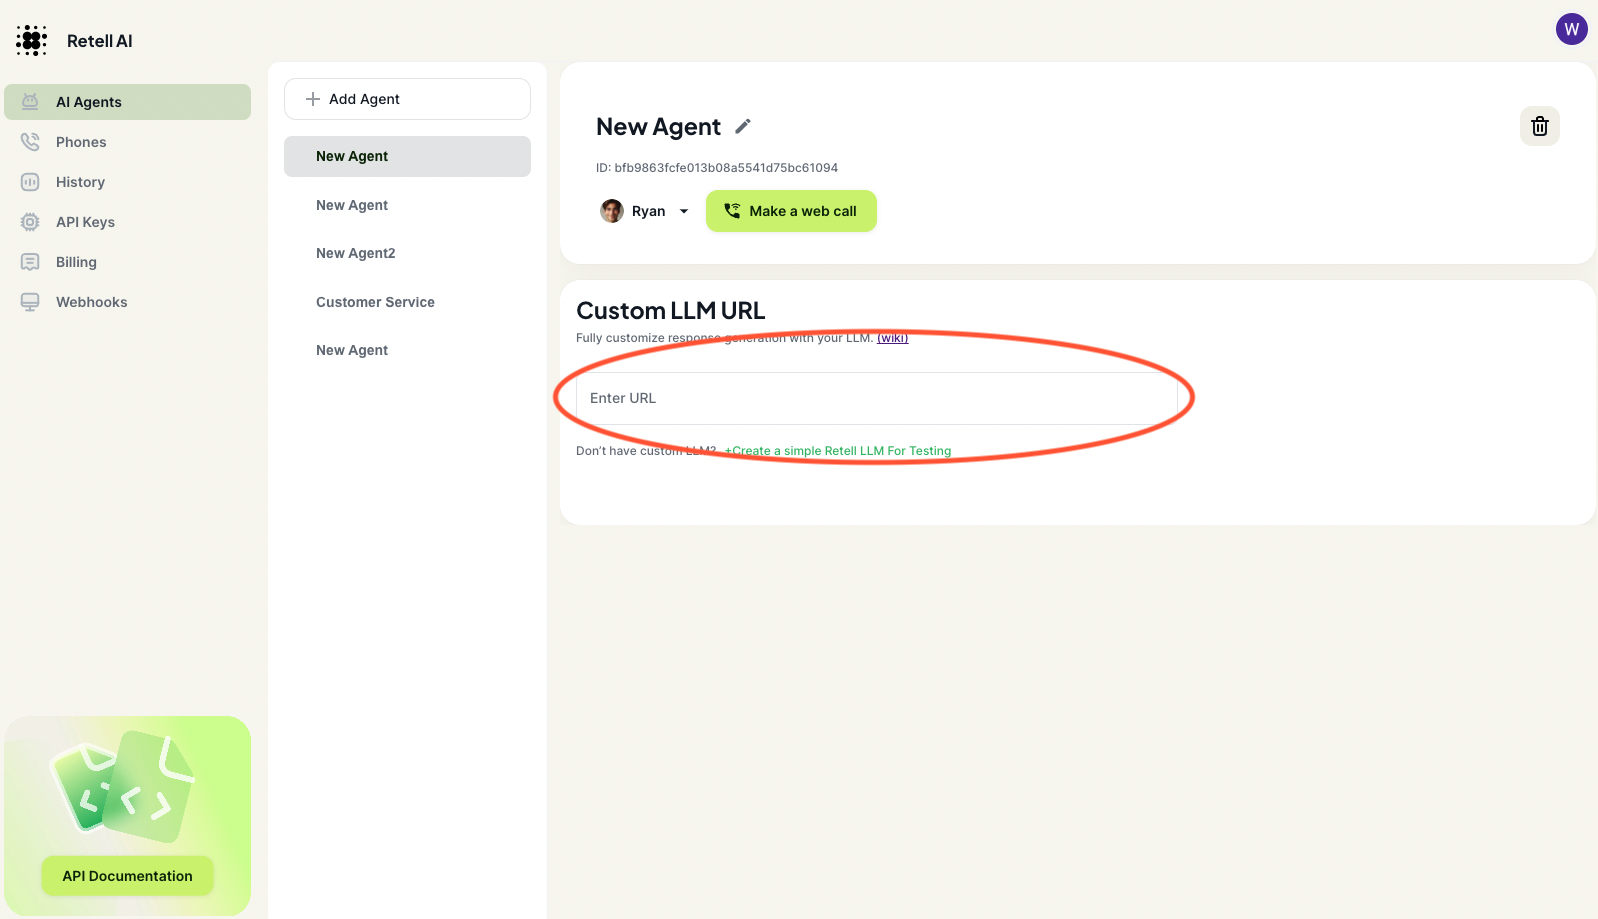
Add either the ngrok url or your production url into the dashboard
Click “Make a web call” and you should be able to hear the agent talking. It
will greet with “How may I help you?”, and reply every users’ questions with “I
am sorry, can you say that again?”.
Congrats! You just connect your websocket to our server. Let’s connect to your
LLM to make the agent smarter.


