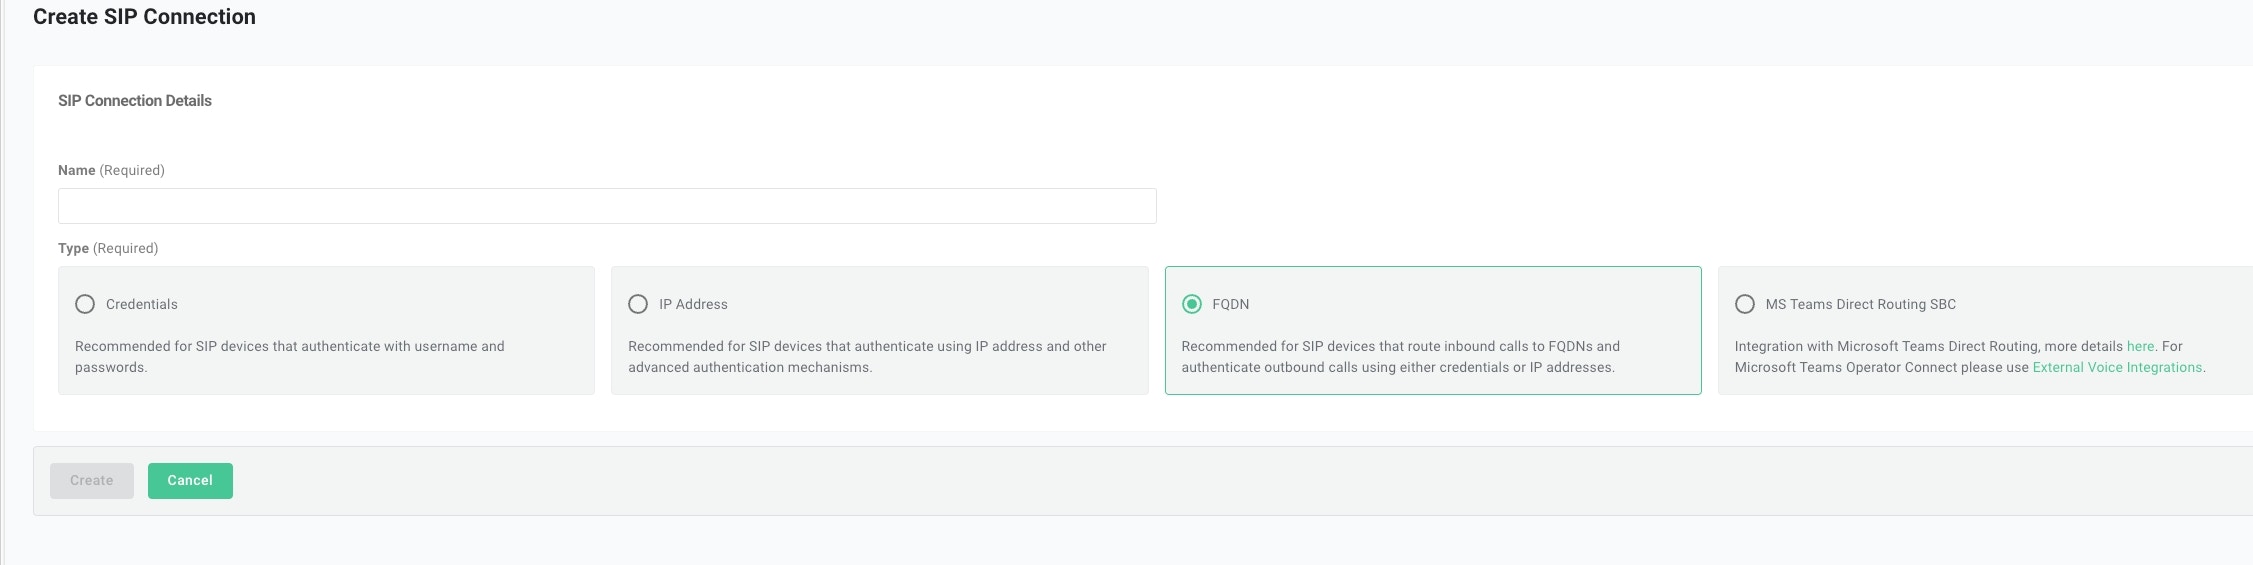
Create Elastic SIP Trunking
- Create the trunk, select FQDN as the type, and give it a name.
- Add FQDN
sip.retellai.com. Select SRV as the
DNS record type.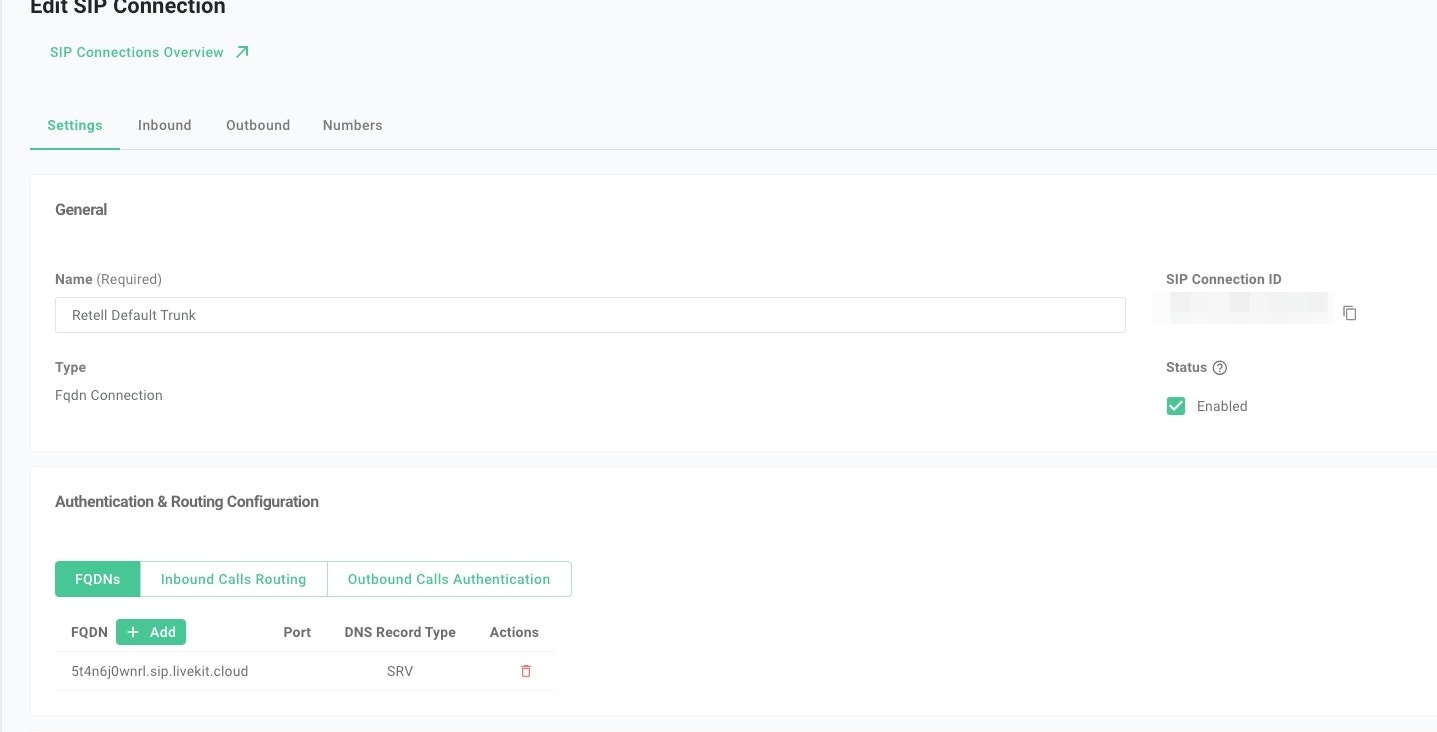
- Set Up Outbound Calls Authentication
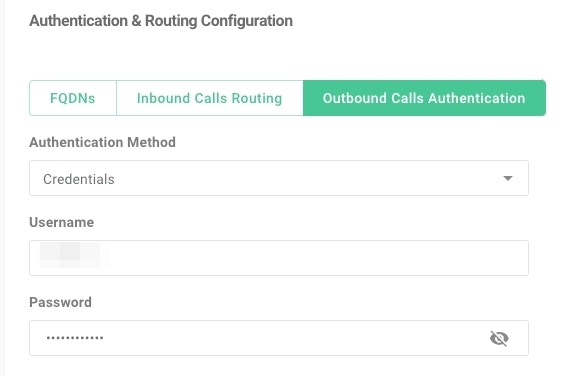
Telnyx requires the header
X-Telnyx-Username: <username> to be included in the outbound calls when using credentials as the authentication mechanism.
See Telnyx documentation for more details.
You can find details on adding custom SIP headers on Make Outbound Calls page.- Set Up Inbound Setting
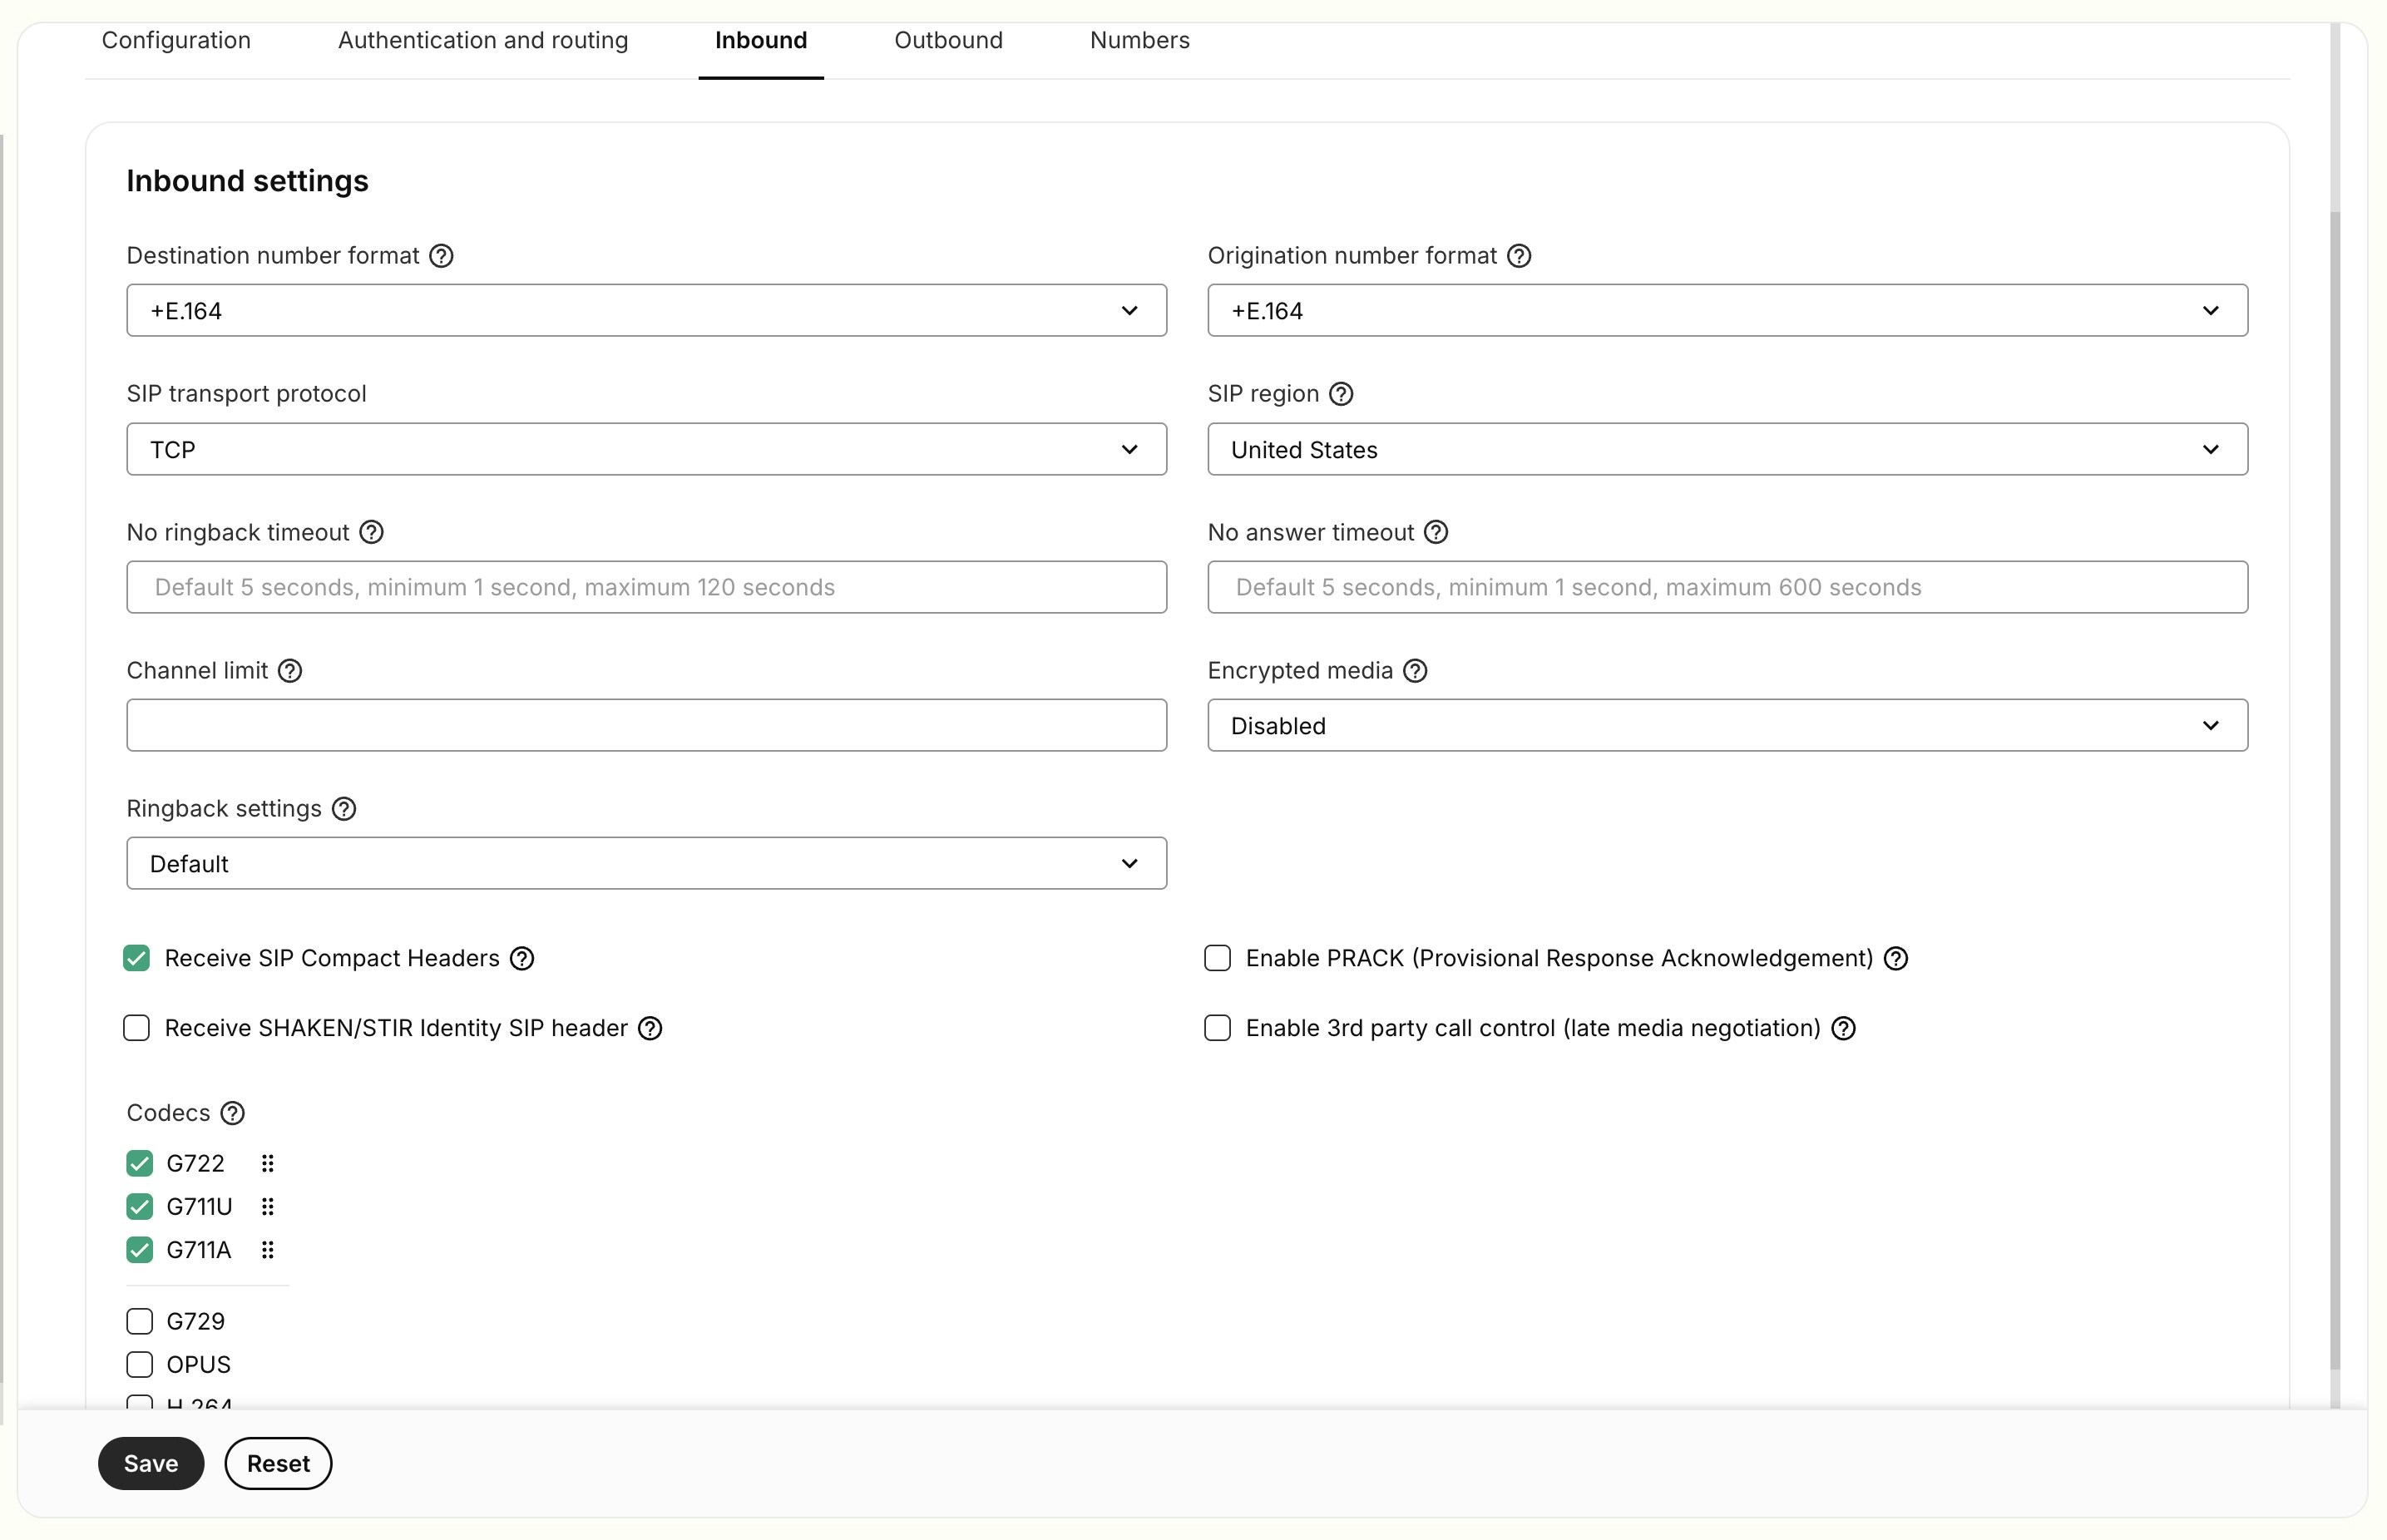
- Select
+E.164as the number format. - Select
G722,G711U,G711Aas the codecs. - Select
TCPas the transport method. (TCP is recommended over UDP due to reliability factors) - Select your SIP region.
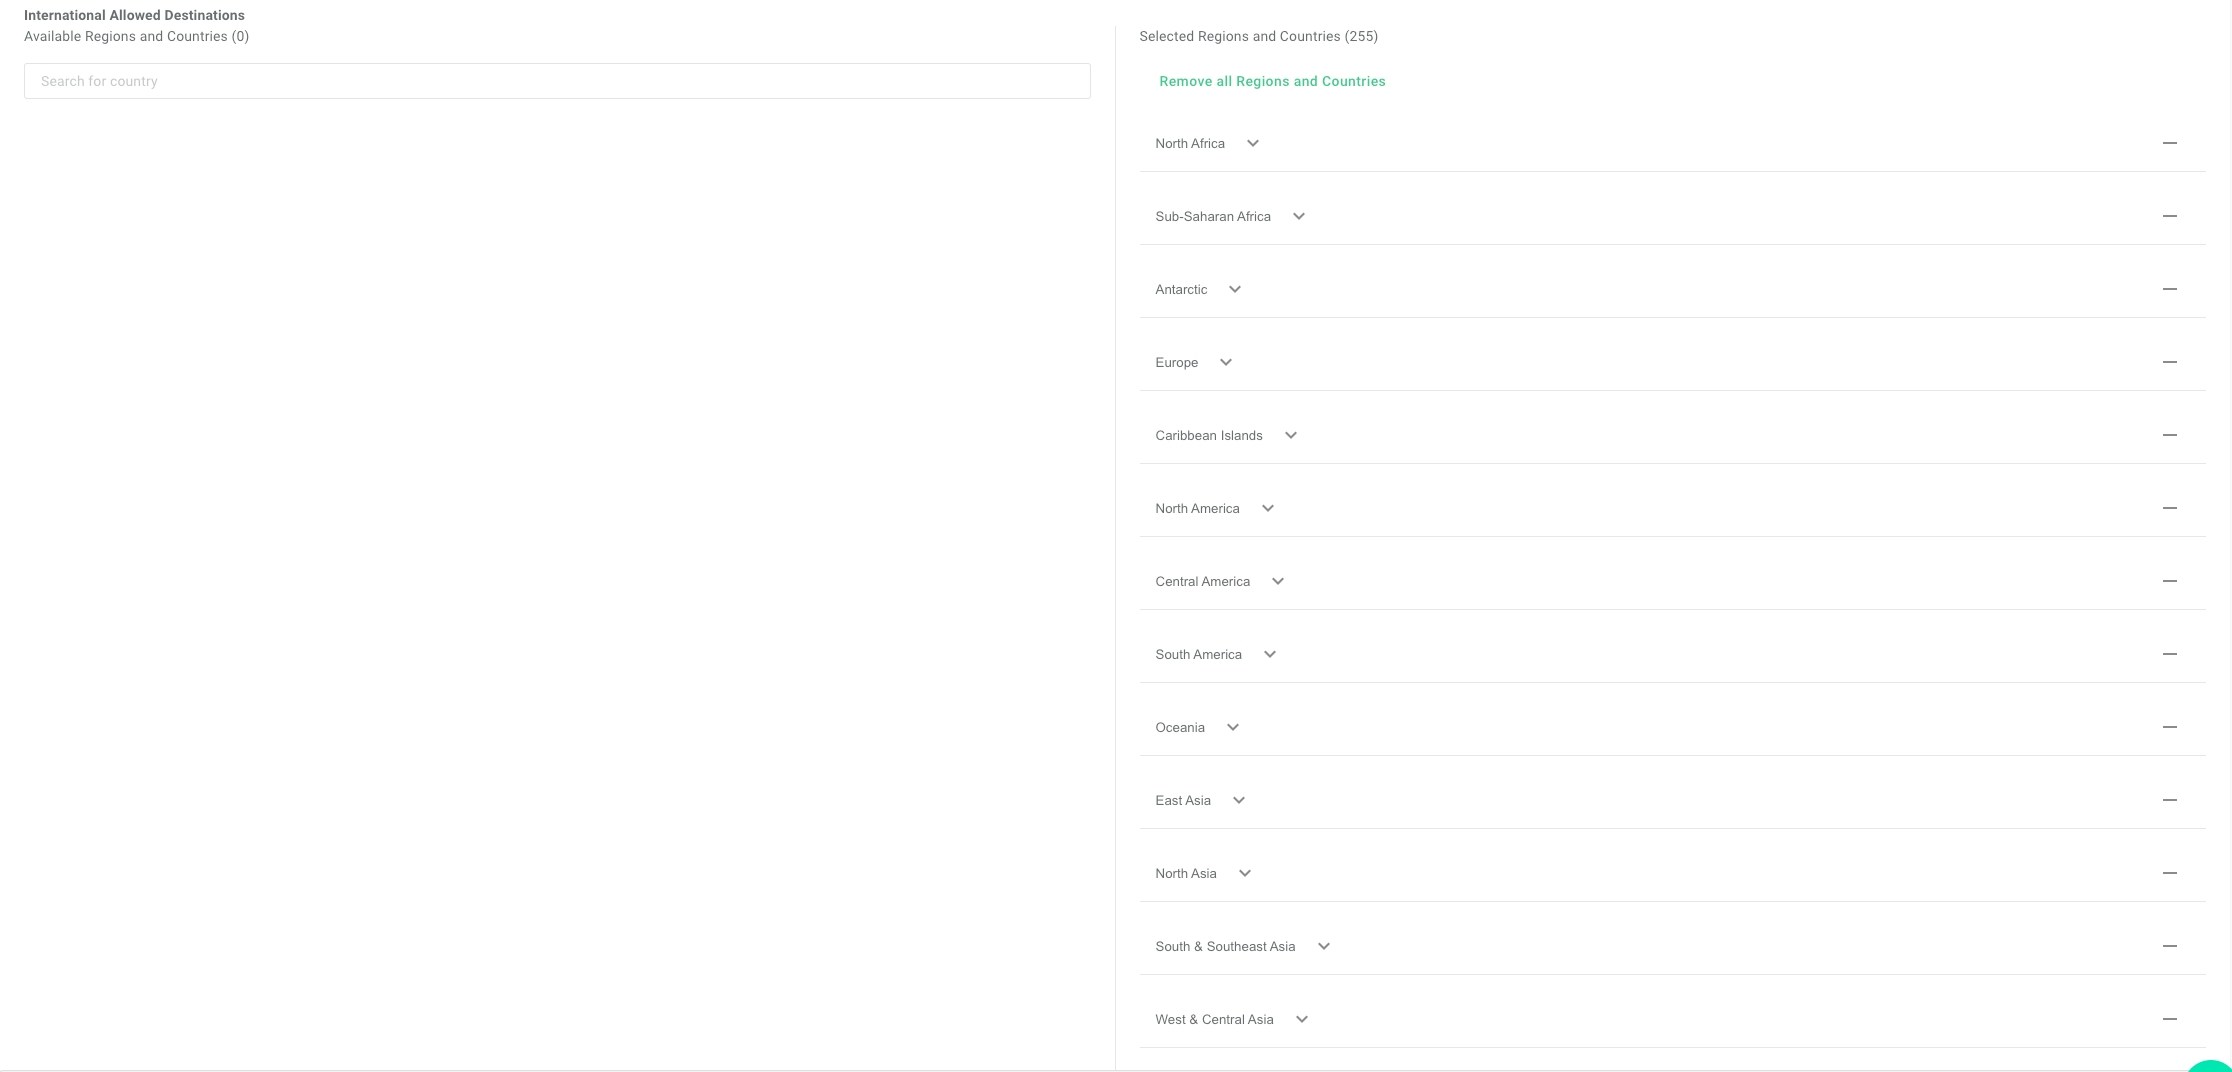
- Set Up Outbound Setting

Move numbers to Elastic SIP Trunking
You’ve created the elastic SIP trunk, now you would need to purchase numbers / move
existing numbers to this trunk.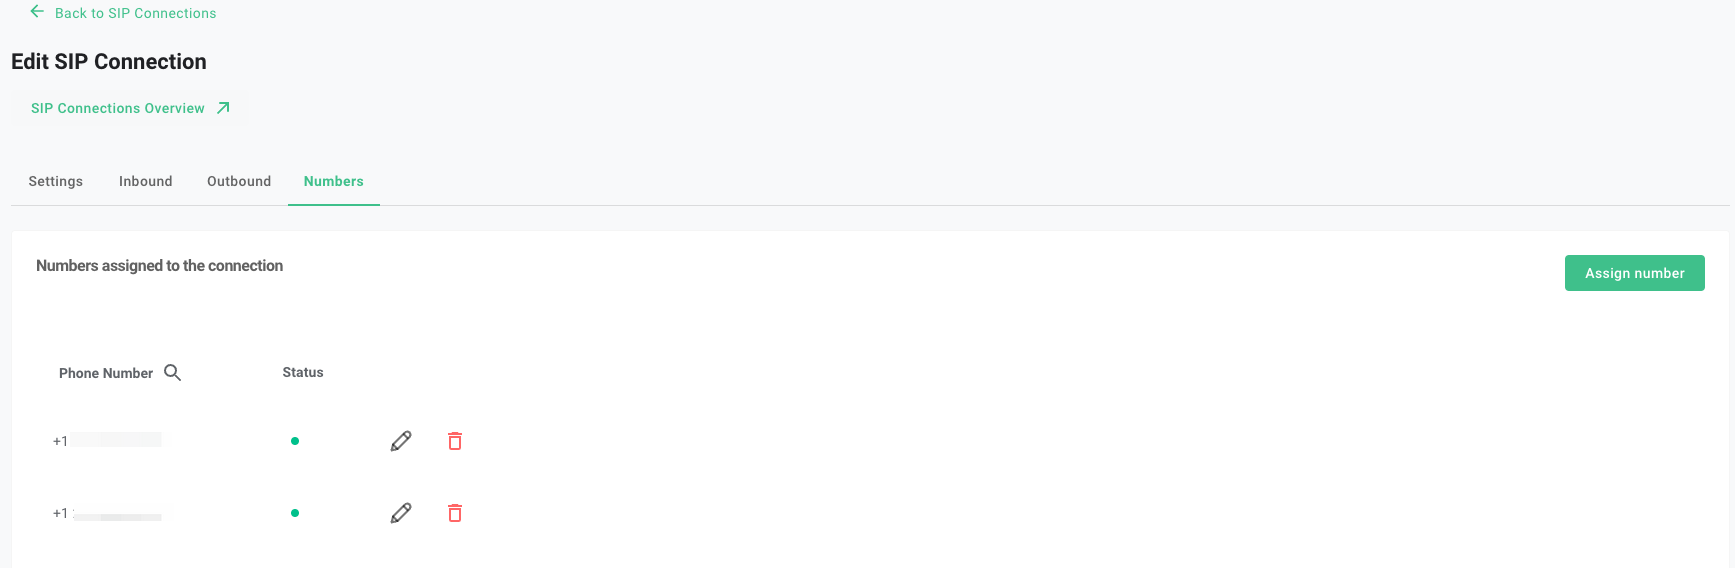
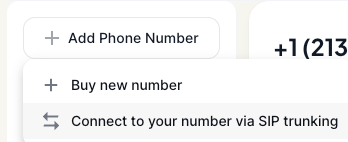
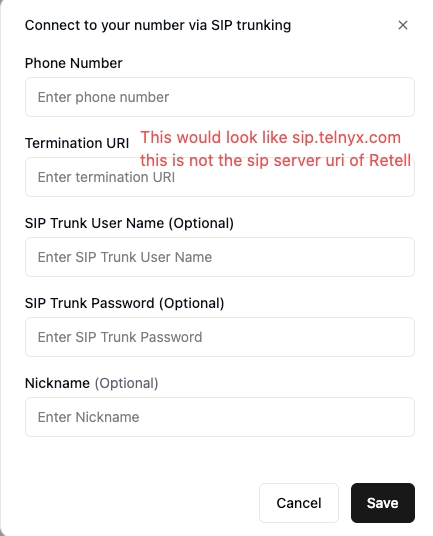
Import numbers to Retell
Now the number is set up with your elastic SIP trunking, you need to
import the number to Retell so that we will know how to route the call.