1
Create elastic SIP trunking
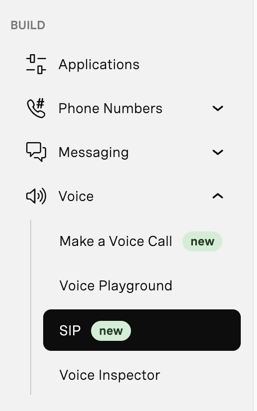
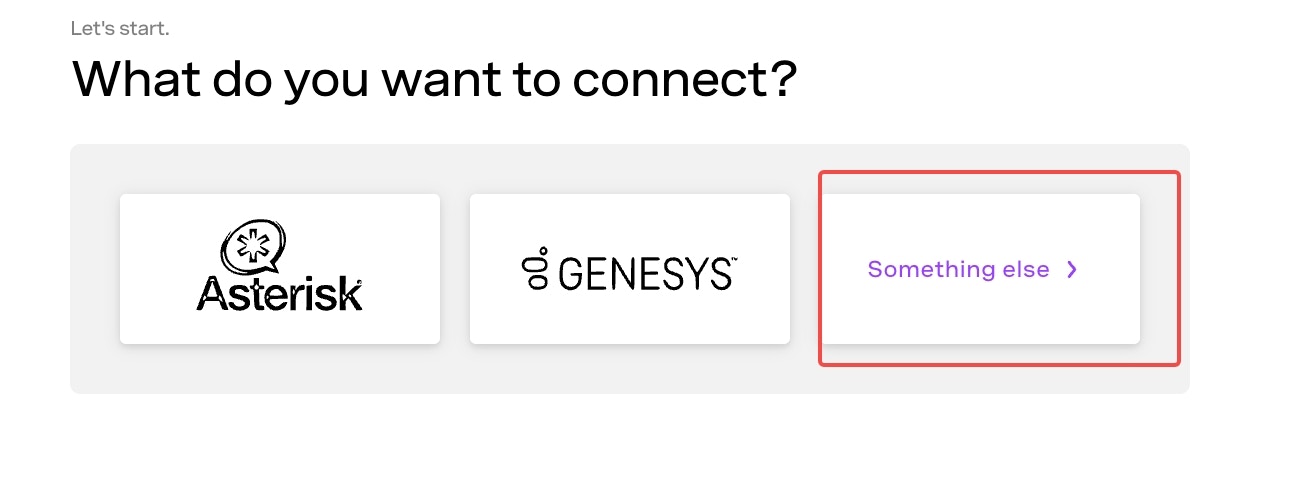
- Locate the SIP section in the Vonage dashboard, and select “Something else” for the provider type.
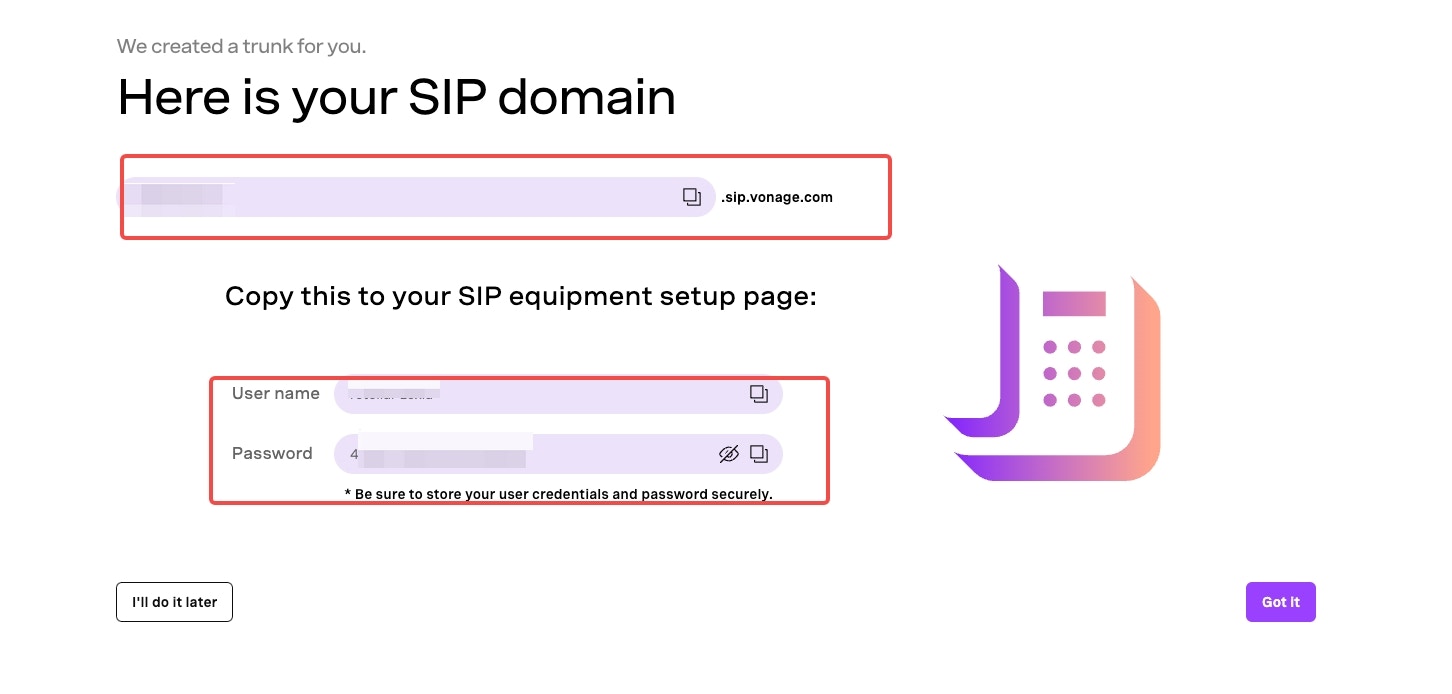
- Set up termination (for outbound)
- The termination SIP URI, username, and password here are important; you’ll use them in later steps, so note them down.
- Set up origination (for inbound)
- Here you will specify Retell’s SIP server address as the origination SIP URI:
sip.retellai.com.
2
Move numbers to elastic SIP trunking
You’ve created the elastic SIP trunk. Now purchase numbers or link
existing numbers to this trunk.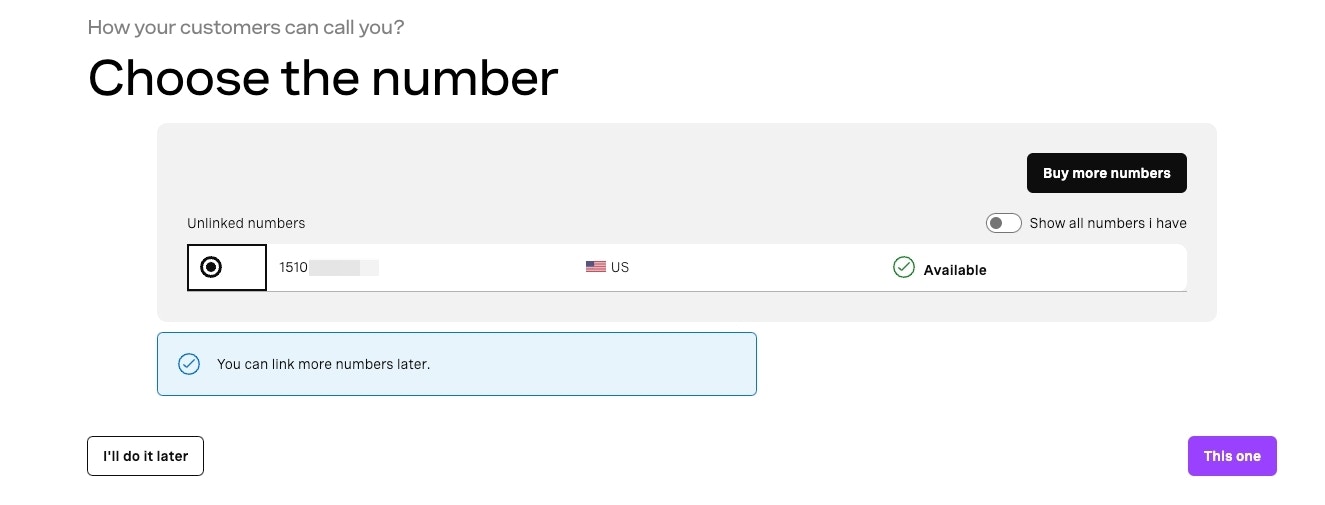
3
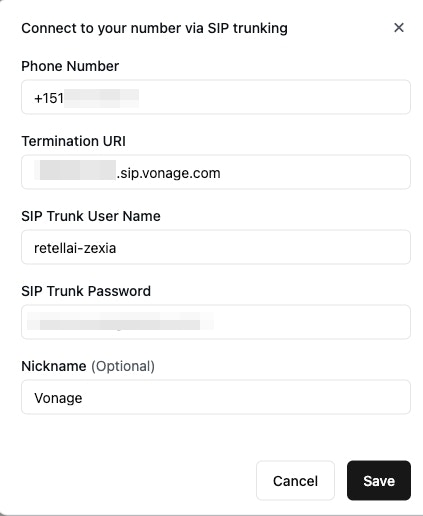
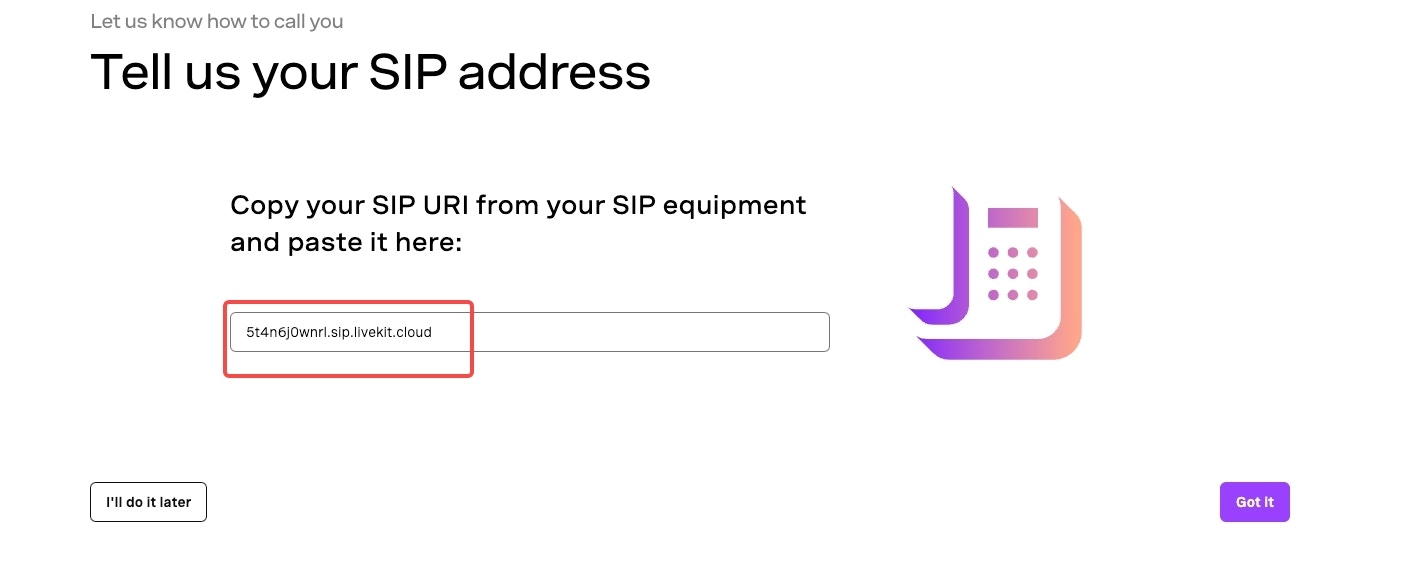
Import numbers to Retell
Now that the number is set up with your elastic SIP trunk, import it to Retell so we know how to route the call.Here you supply the termination SIP URI, username, and password you set up in Step 1.