Connect HubSpot to Retell AI with a private app access token: the scopes to grant, where the token lives, and how to verify the connection works.
Connecting HubSpot takes a private app access token. One connection covers both contact sync and agent functions: your agents work the portal’s contacts, deals, and companies, and Retell keeps the records current. This page covers the HubSpot-side setup and the connection itself.
This is the setup guide for using HubSpot as a CRM data source. If you want to trigger outbound calls from HubSpot workflows instead, see the HubSpot Marketplace app. The two are independent and can be used together.
Connect HubSpot when it’s your system of record and you want your agents working from it without anyone copying data between tools. It’s the right choice when you want to:
Call or text people who already exist in HubSpot. Contacts sync into Retell automatically, so your agent greets callers by name and knows their deal stage or lifecycle stage instead of asking.
Keep HubSpot current without manual data entry. Analysis results from each conversation write back to contact properties.
Give your team call history where they already work. Each call and chat appears on the contact’s activity timeline with its summary and duration.
Let the agent act on HubSpot directly.Integration tools identify the caller by number, read their deals and companies, update records the caller corrects, and book follow-up tasks.
For example, an e-commerce brand’s inbound line answers with a Retell agent that searches HubSpot for the caller’s number, sees their open deal, and logs the call to the timeline; when the caller confirms a new shipping address, the agent updates the contact property on the spot.
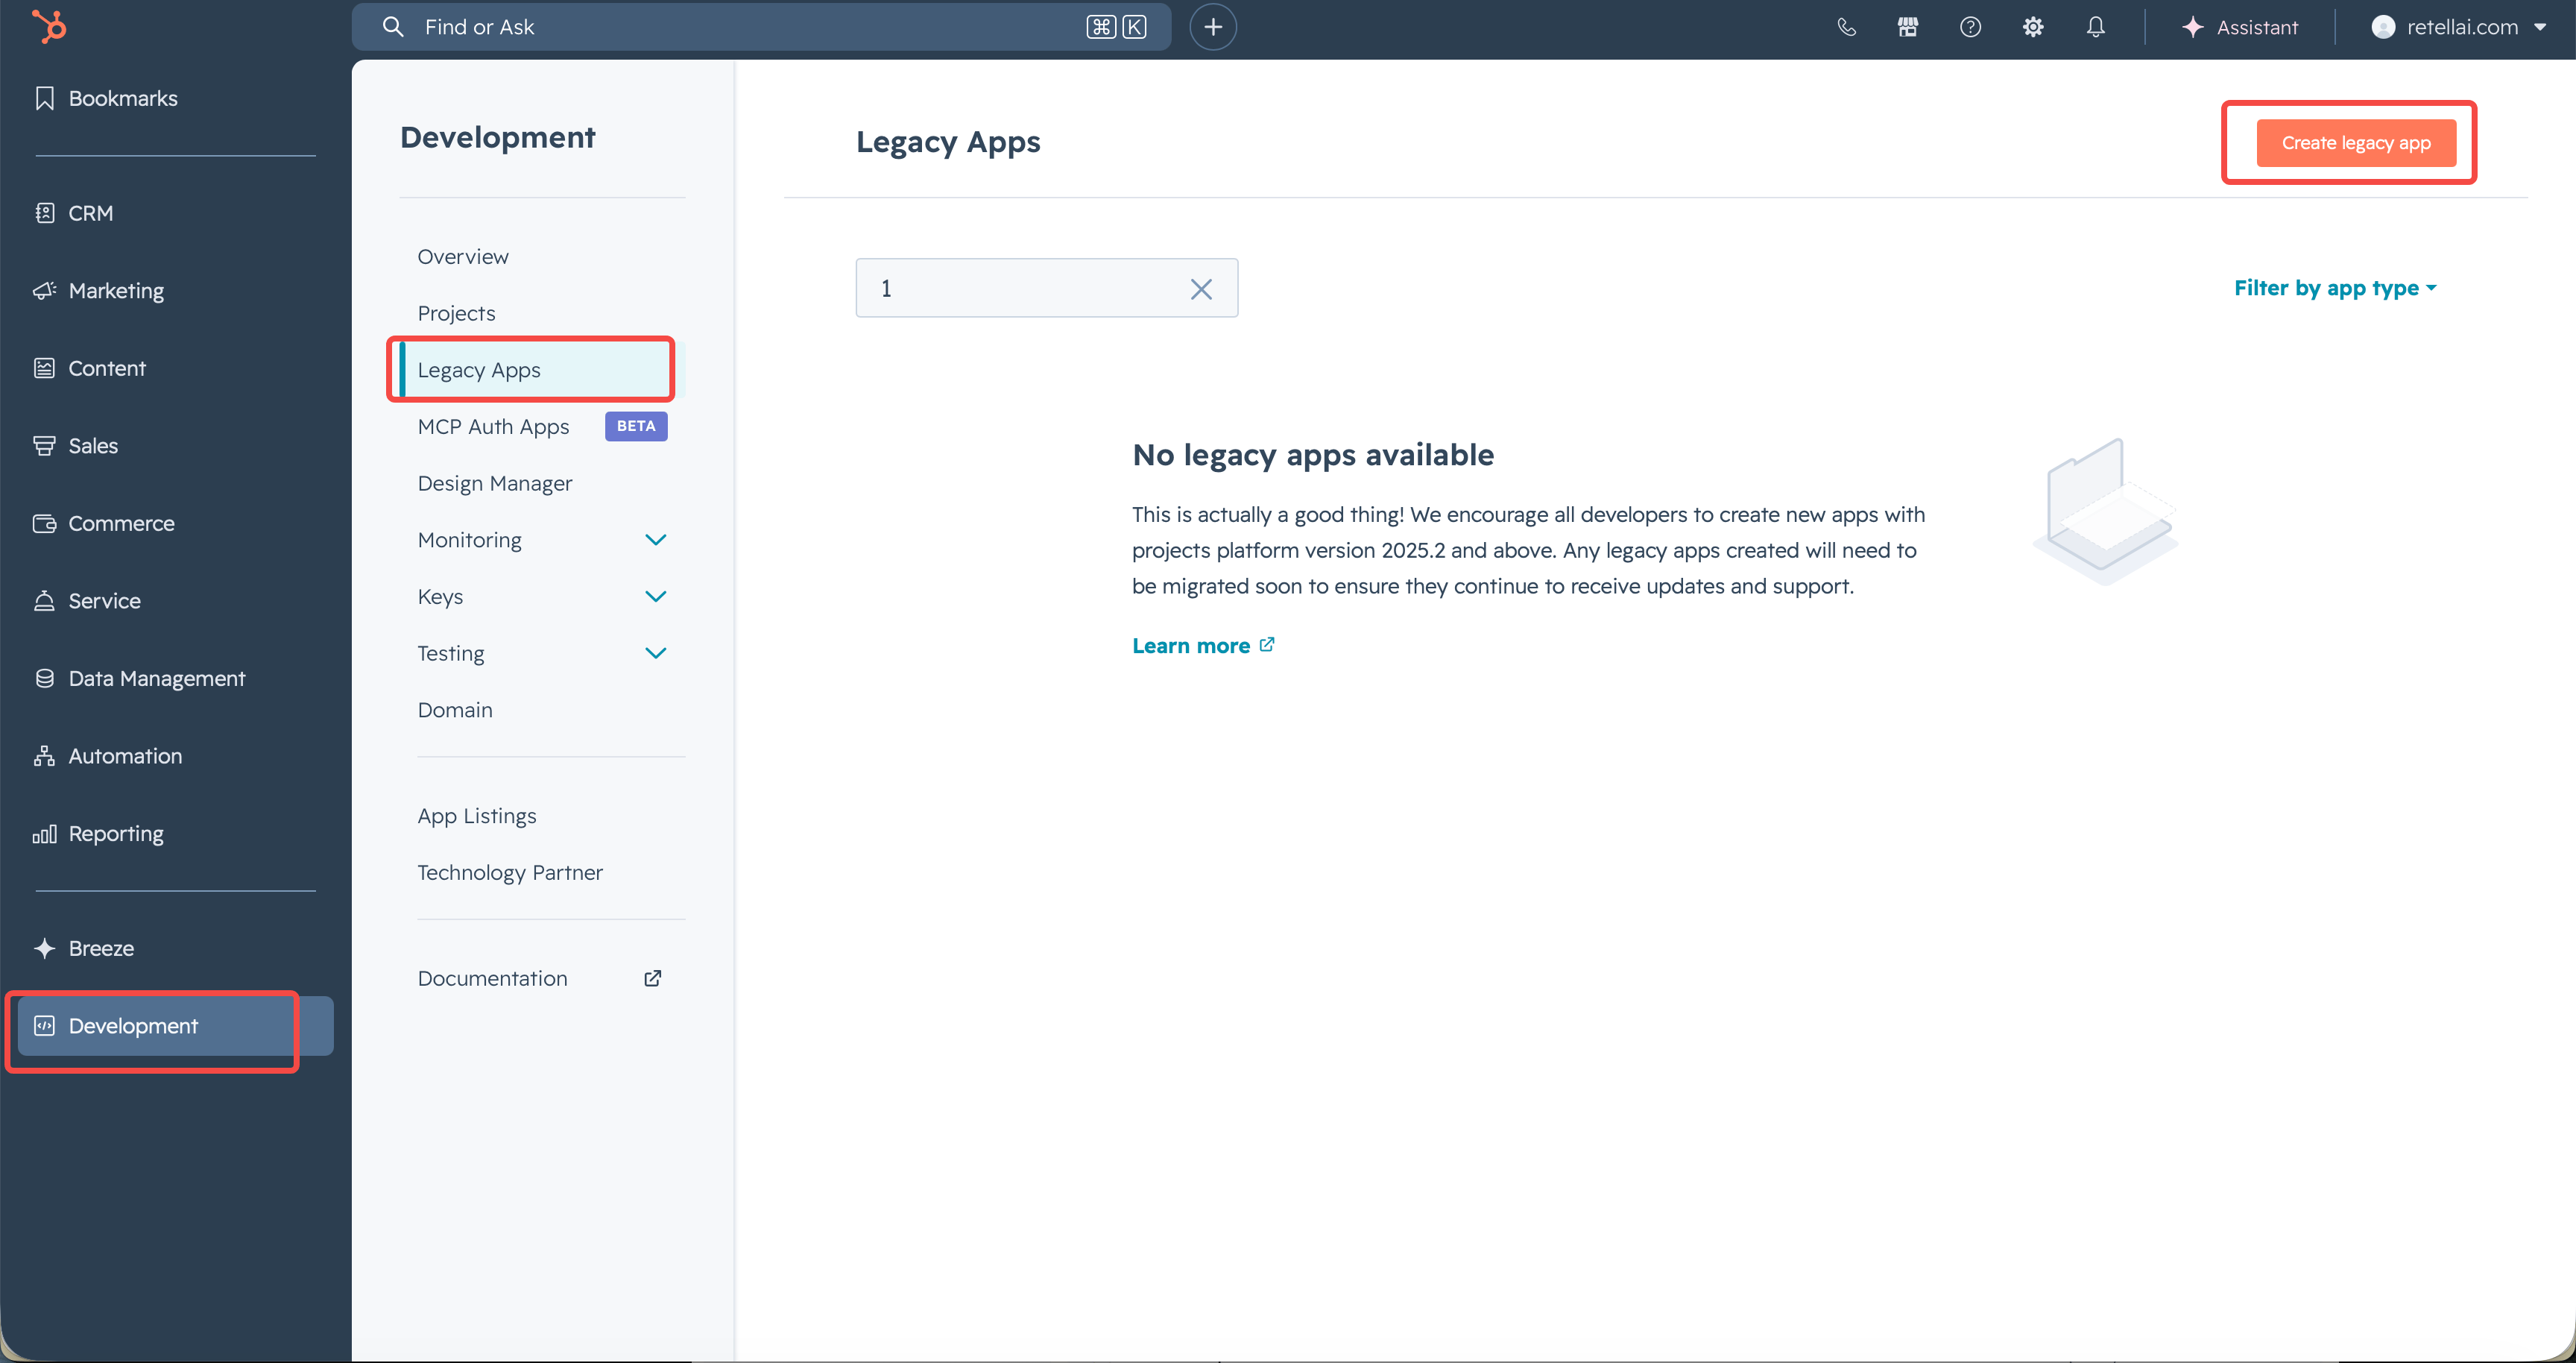
In HubSpot, click Development at the bottom of the left sidebar, then select Legacy Apps. Click Create legacy app in the top-right corner, then choose Private in the dialog.
The Legacy Apps page in HubSpot's Development section.
HubSpot renamed the private apps section to Legacy Apps and steers new development toward its newer developer platform. Private apps still work and remain the supported way to connect HubSpot to Retell. Some accounts still show this section as Private Apps under Settings > Integrations; if you don’t see Development in the sidebar, look there.
2
Fill in the basic info
On the Basic Info tab, enter:
Name — a descriptive name, for example Retell AI Integration.
Description — optional, for example “Syncs contacts and logs call activity for Retell AI”.
On the Scopes tab, click Add new scope, search for each scope below in Find a scope, check it, then click Update.Contact sync and activity logging need three scopes:
Scope
Required for
crm.objects.contacts.read
Importing contacts, the connection test Retell runs when you connect, and the contact lookup tools
crm.schemas.contacts.read
Reading contact property definitions: field mapping, tool configuration, and every contact read the tools make
crm.objects.contacts.write
Outbound sync, logging calls and chats to the timeline, and the contact, note, and task tools
If your agents will use the deal and company tools, also grant:
Reading deal and company property definitions, both when you configure those tools and on every read they make
HubSpot authorizes the note, task, and call engagement endpoints through the contact scopes, so there’s no separate engagement scope to grant. If a tool fails because of a missing scope, HubSpot rejects the call with a 403 whose error body names the missing scope (category MISSING_SCOPES). Grant it under Edit app and the tool starts working without reconnecting.
Grant the scopes up front. Once connected, a missing scope doesn’t flag the connection, because HubSpot answers with a 403 rather than rejecting the credentials — the affected feature just stops working silently. The exception is crm.objects.contacts.read: the connection test reads contacts, so without it connecting fails outright.
In the Retell Dashboard, open Integrations, select the Available tab, find HubSpot, and click Connect (Add Account if a connection already exists).
2
Enter the token
Fill in the fields:
Field
Value
Connection name
Alias for this connection; prefilled with HubSpot - API key.
API Key
The private app access token from Step 3.
The HubSpot connection dialog: paste the private app access token as the API key.
3
Connect and confirm
Click Connect (Add Account if a connection already exists). Retell creates the connection and immediately tests it by reading a page of contacts from HubSpot.On success the dialog reports the connection as verified and offers Set up contact sync. On failure it shows HubSpot’s own error and re-enables the field so you can paste a corrected token.
4
Verify it worked
On the Connected tab, the HubSpot connection shows as connected. Next, set up contact sync to import your contacts, or start using agent functions right away.
Go to Development > Legacy Apps and click your Retell app’s name. Next to the access token, click Rotate, then choose how the old token expires:
Rotate and expire later keeps the old token valid for 7 days. Pick this one. Retell keeps working while you swap the credential over.
Rotate and expire now kills the old token immediately, so contact sync and activity logging fail until Retell has the new one.
2
Reconnect in Retell
On the Connected tab, open the connection’s settings. The saved token shows masked; paste the new token over it and click Reconnect. Retell verifies the new token before saving, and your field mappings and synced contacts are untouched.
Go to Development > Legacy Apps, click your Retell app’s name, then click Edit app in the top-right corner to change its scopes. Adding a scope takes effect without a new token. Removing one stops the corresponding Retell feature working, without flagging the connection as broken.
Confirm the value in the API Key field is the private app access token, not HubSpot’s legacy developer API key or an OAuth client secret. Check that the app has crm.objects.contacts.read, which the connection test needs, and that the token hasn’t been rotated since you copied it.
The connection shows an error after working for a while
Retell flags a connection as errored when HubSpot rejects the credentials with an HTTP 401. The usual cause is a rotated or deleted token. Open the connection’s settings, paste a current token, and click Reconnect.
You can add multiple connections, but only one CRM connection in your workspace can drive contact sync at a time, across every provider. The Contact sync toggle in a connection’s settings decides which one; turning it on for one connection takes sync over from the previous one.
Does this replace the HubSpot Marketplace app?
No, they do different jobs. This integration syncs contacts and logs activity. The Marketplace app adds a Make a Phone Call action to HubSpot workflows so HubSpot can trigger outbound calls. You can run both.