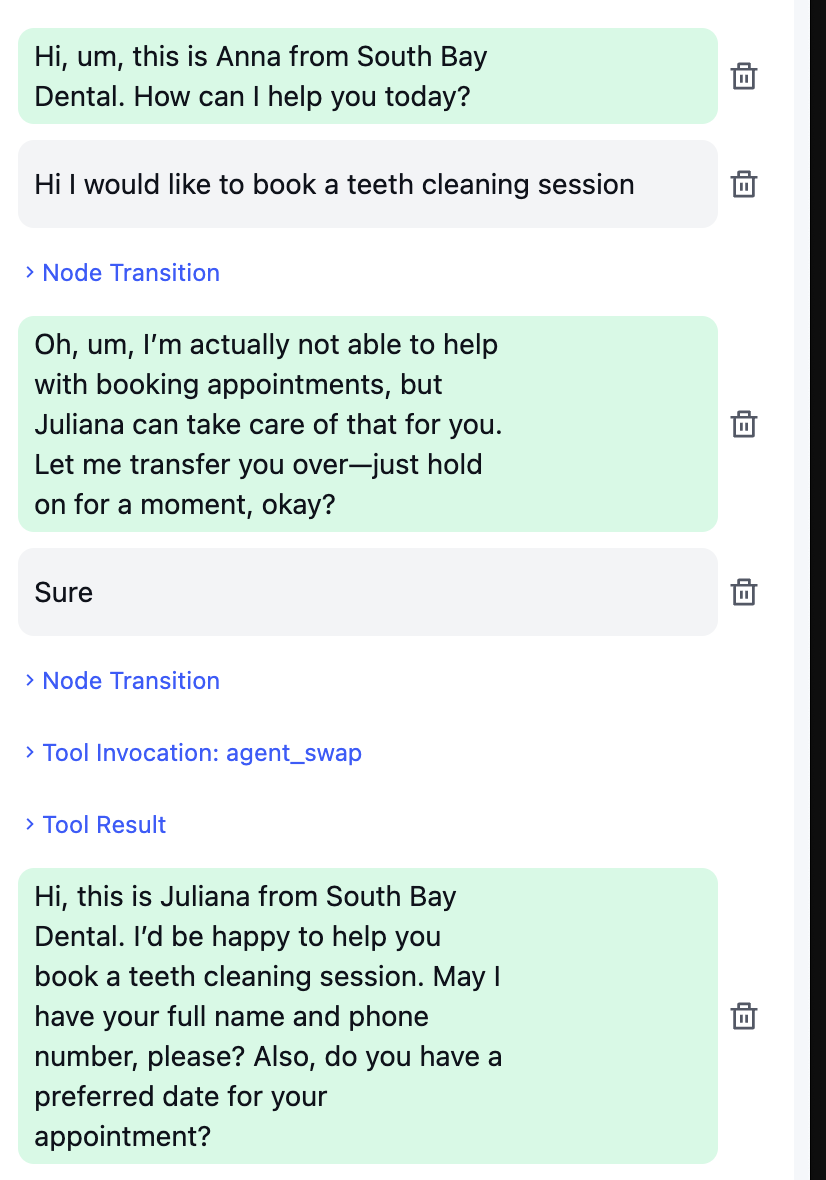
- Transferring from a front-desk agent to an appointment-booking agent based on task.
- Transferring from an agent speaking one language to another agent handling a different language, based on user preference.
Why Use Agent Transfer Instead of Call Transfer?
Compared to transferring to another agent using transfer call, Agent Transfer offers significant advantages:- Lower Latency: The transition between agents is near-instant, much lower than transfer call.
- Better Reliability: No need to create a new phone call, avoiding potential telephony failures.
- No Handoff Message Needed: The destination agent has access to the full conversation history, eliminating the need for adding hand-off messages or repeated customer questions.
- No Separate Numbers for Agents: Agents receiving transfers don’t need their own phone numbers. One number is all you need, no matter how many agents you transfer to.
What stays fixed and what switches
Some call-level settings are pinned to the first agent for the whole call, no matter how many swaps happen:- Recording access (
opt_in_signed_url) - Data storage setting (
data_storage_setting) - PII redaction (
pii_config) - Denoising mode
Steps
1
Add Agent Transfer Node
Select “Agent Transfer” from the ‘Add New Node’ menu.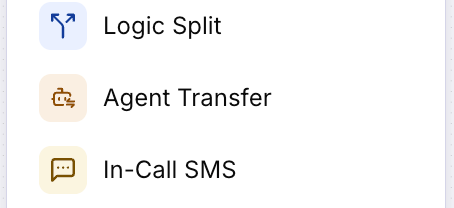
2
Configure Details
Select the node, open Node settings, and expand Agent transfer settings. Its configuration and the general Node settings section can stay open together. Configure the following options: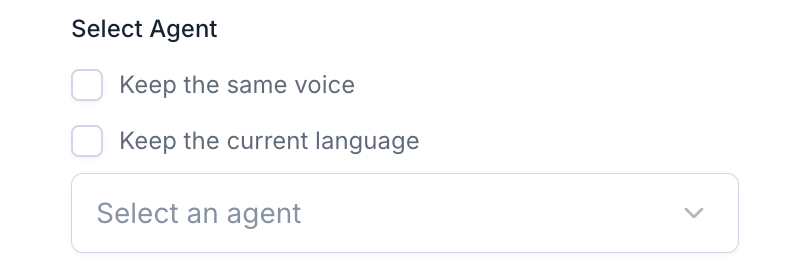
- Transfer agent: the ID and version of a specific agent to transfer to. You can select the latest version as well.
- Speak during execution and messages: if the agent should speak something while performing the transfer.
- Post Call Extraction setting: choose which agent’s Post Call Extraction applies after the transfer. Select Only transferred agent to run Post Call Extraction with the destination agent’s full analysis configuration (its analysis fields, analysis model, and analysis prompts), or Both this agent and transferred agent to keep the analysis fields from both agents.
3
Test and Debug
You can test agent transfer both in web call and playground.